Machinery and Maintenance
Go to the page for 15hp Chinese Chipper Mulcher Review
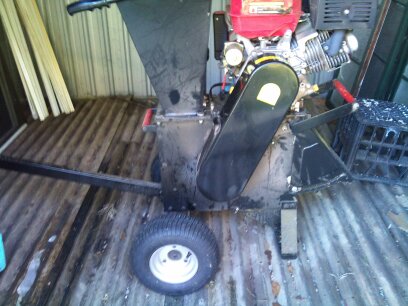
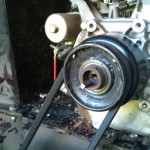
When I was last putting vegetables through the hopper the blades were slowing down as the scraps were fed in. It made me think that the belt that turns the hammer blades and the chipper blade had stretched. I needed to take the belt cover off and have a look at the belt.

Remove Belt Cover
There are three bolts with lock tite nuts that hold on the cover. They were quite easy to remove using two 13mm spanners.
As I was removing the cover, a bolt dropped out. Unusual, and even more unusual when a big washer and a spring washer dropped out as well. When I got the cover off there was also a piece of steel that goes in a key way.
Replacing Key in Keyway
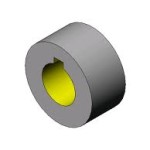
Bore With Square Keyway
Seeing everything that had dropped out made it easy to figure out what had happened. The shaft from the motor drives the pulleys that are connected by the belt. The bolt had vibrated loose and the key had slipped out of the key way. The pulley was only being turned by friction. As soon as there was a little pressure on the flails the pulley would slip on the shaft.

Tighten the Pulley Bolt
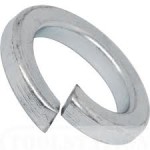
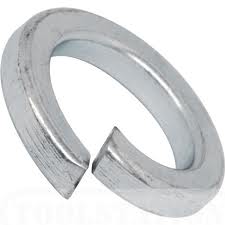
Spring Washer
Fixing it was no problem. Just line up the shaft with the keyway and knock the key back in. Don’t go bashing the key directly,

Final Tighten
use a piece of wood or flat piece of metal as a buffer when you tap it back into place. The washer was bent and was stopping the spring washer from being effective as a lock on the bolt. I turned the washer around and tightened it up, flattening the washer in the process.
Next I replaced the belt cover.
Hint or Tip
If you are doing this, put the bolt that has the nut over the cover back first. I put the others on first, and of course when I put the last one on I dropped the washer and lock nut into the cover and had to take it off to get them out.
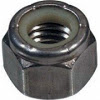
Lock Nut
A close look at the lock nut shows that it has a nylon sleeve. As the nut is tightened, the thread on the bolt cuts into the nylon, holding it firmly in position.
I guess I have to give this a tick and a cross. The cross because the bolt was tightened too far by the manufacturer, bending the washer and preventing the spring washer from doing its job of keeping the pulley bolt in place stopping the key from coming out.
The tick is for the ease with which the cover was removed and the problem fixed.
So far the chipper maintenance has been easy to do with everything accessible and easy to work out.
Vegetable Trials
Develop a big Tomato Root System
When laden with fruit, a good tomato root system is required to obtain enough food, minerals and water to sustain growth.
The best time to get a tomato to generate an extensive root system is when you transplant.
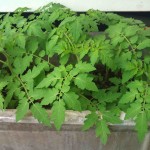
Volunteer Tomato Seedlings in old Laundry Tub
This year I removed an old laundry tub and placed it in a warm morning sun spot close to the house and a tap. I half filled it with worm castings and compost. I then put some bagged horse manure on top. The intention was to grow some strawberries.
It was a bit of a surprise when all these tomatoes started to appear. I guess the horse who supplied the manure was a tomato fan.
The seedlings all looked well and healthy so it is time to transplant them out and get them adjusted to our winter here in Brisbane. Currently the temperature range is 8 degrees C to 22 degrees C. Winter is the dry season here usually. This year it is still raining regularly and it is into the second week of June.
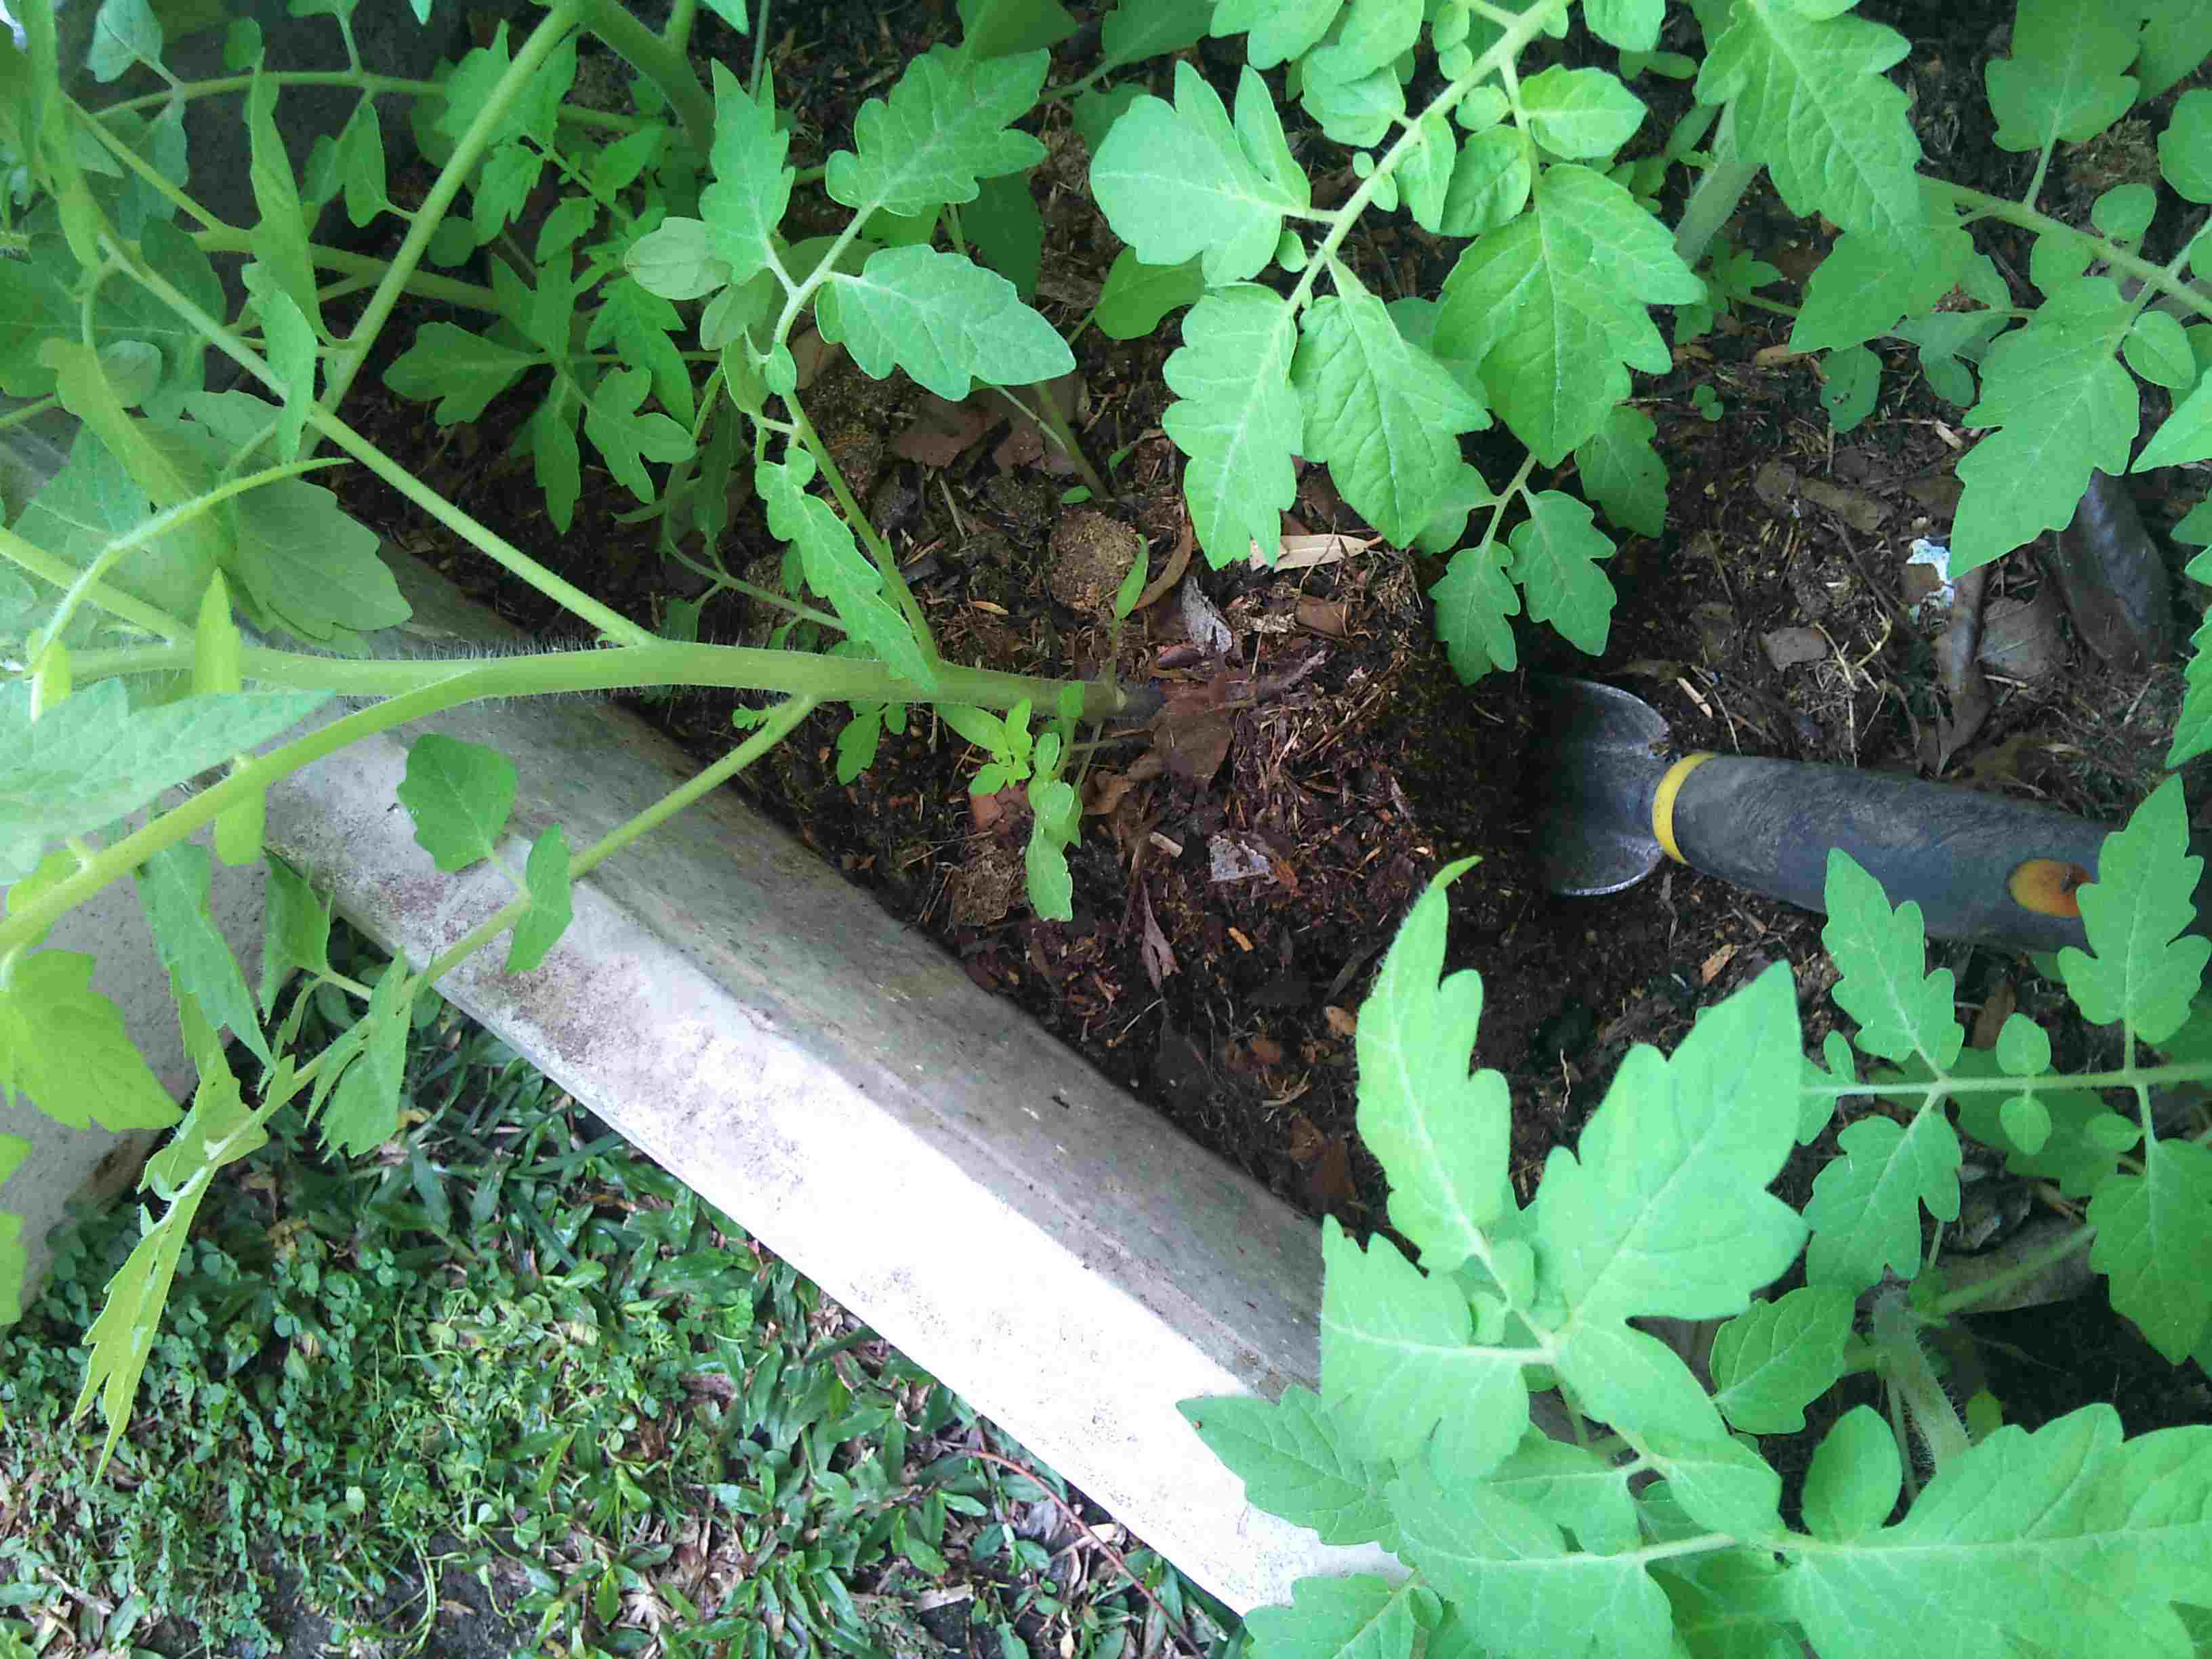
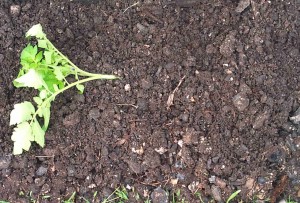
Digging Out A Seedling
The seedlings have shot up because of the warm position and the rain. They are quite leggy. Usually if I am growing tomatoes in a plastic house I don’t want them to grow too tall as it increases the distance between the bunches of tomatoes. To regulate the height of the tomato you water sparingly. Growing outside leaves you in the hands of the weather.
In this case the seedlings being quite tall is an advantage.

Before Pruning

After Pruning
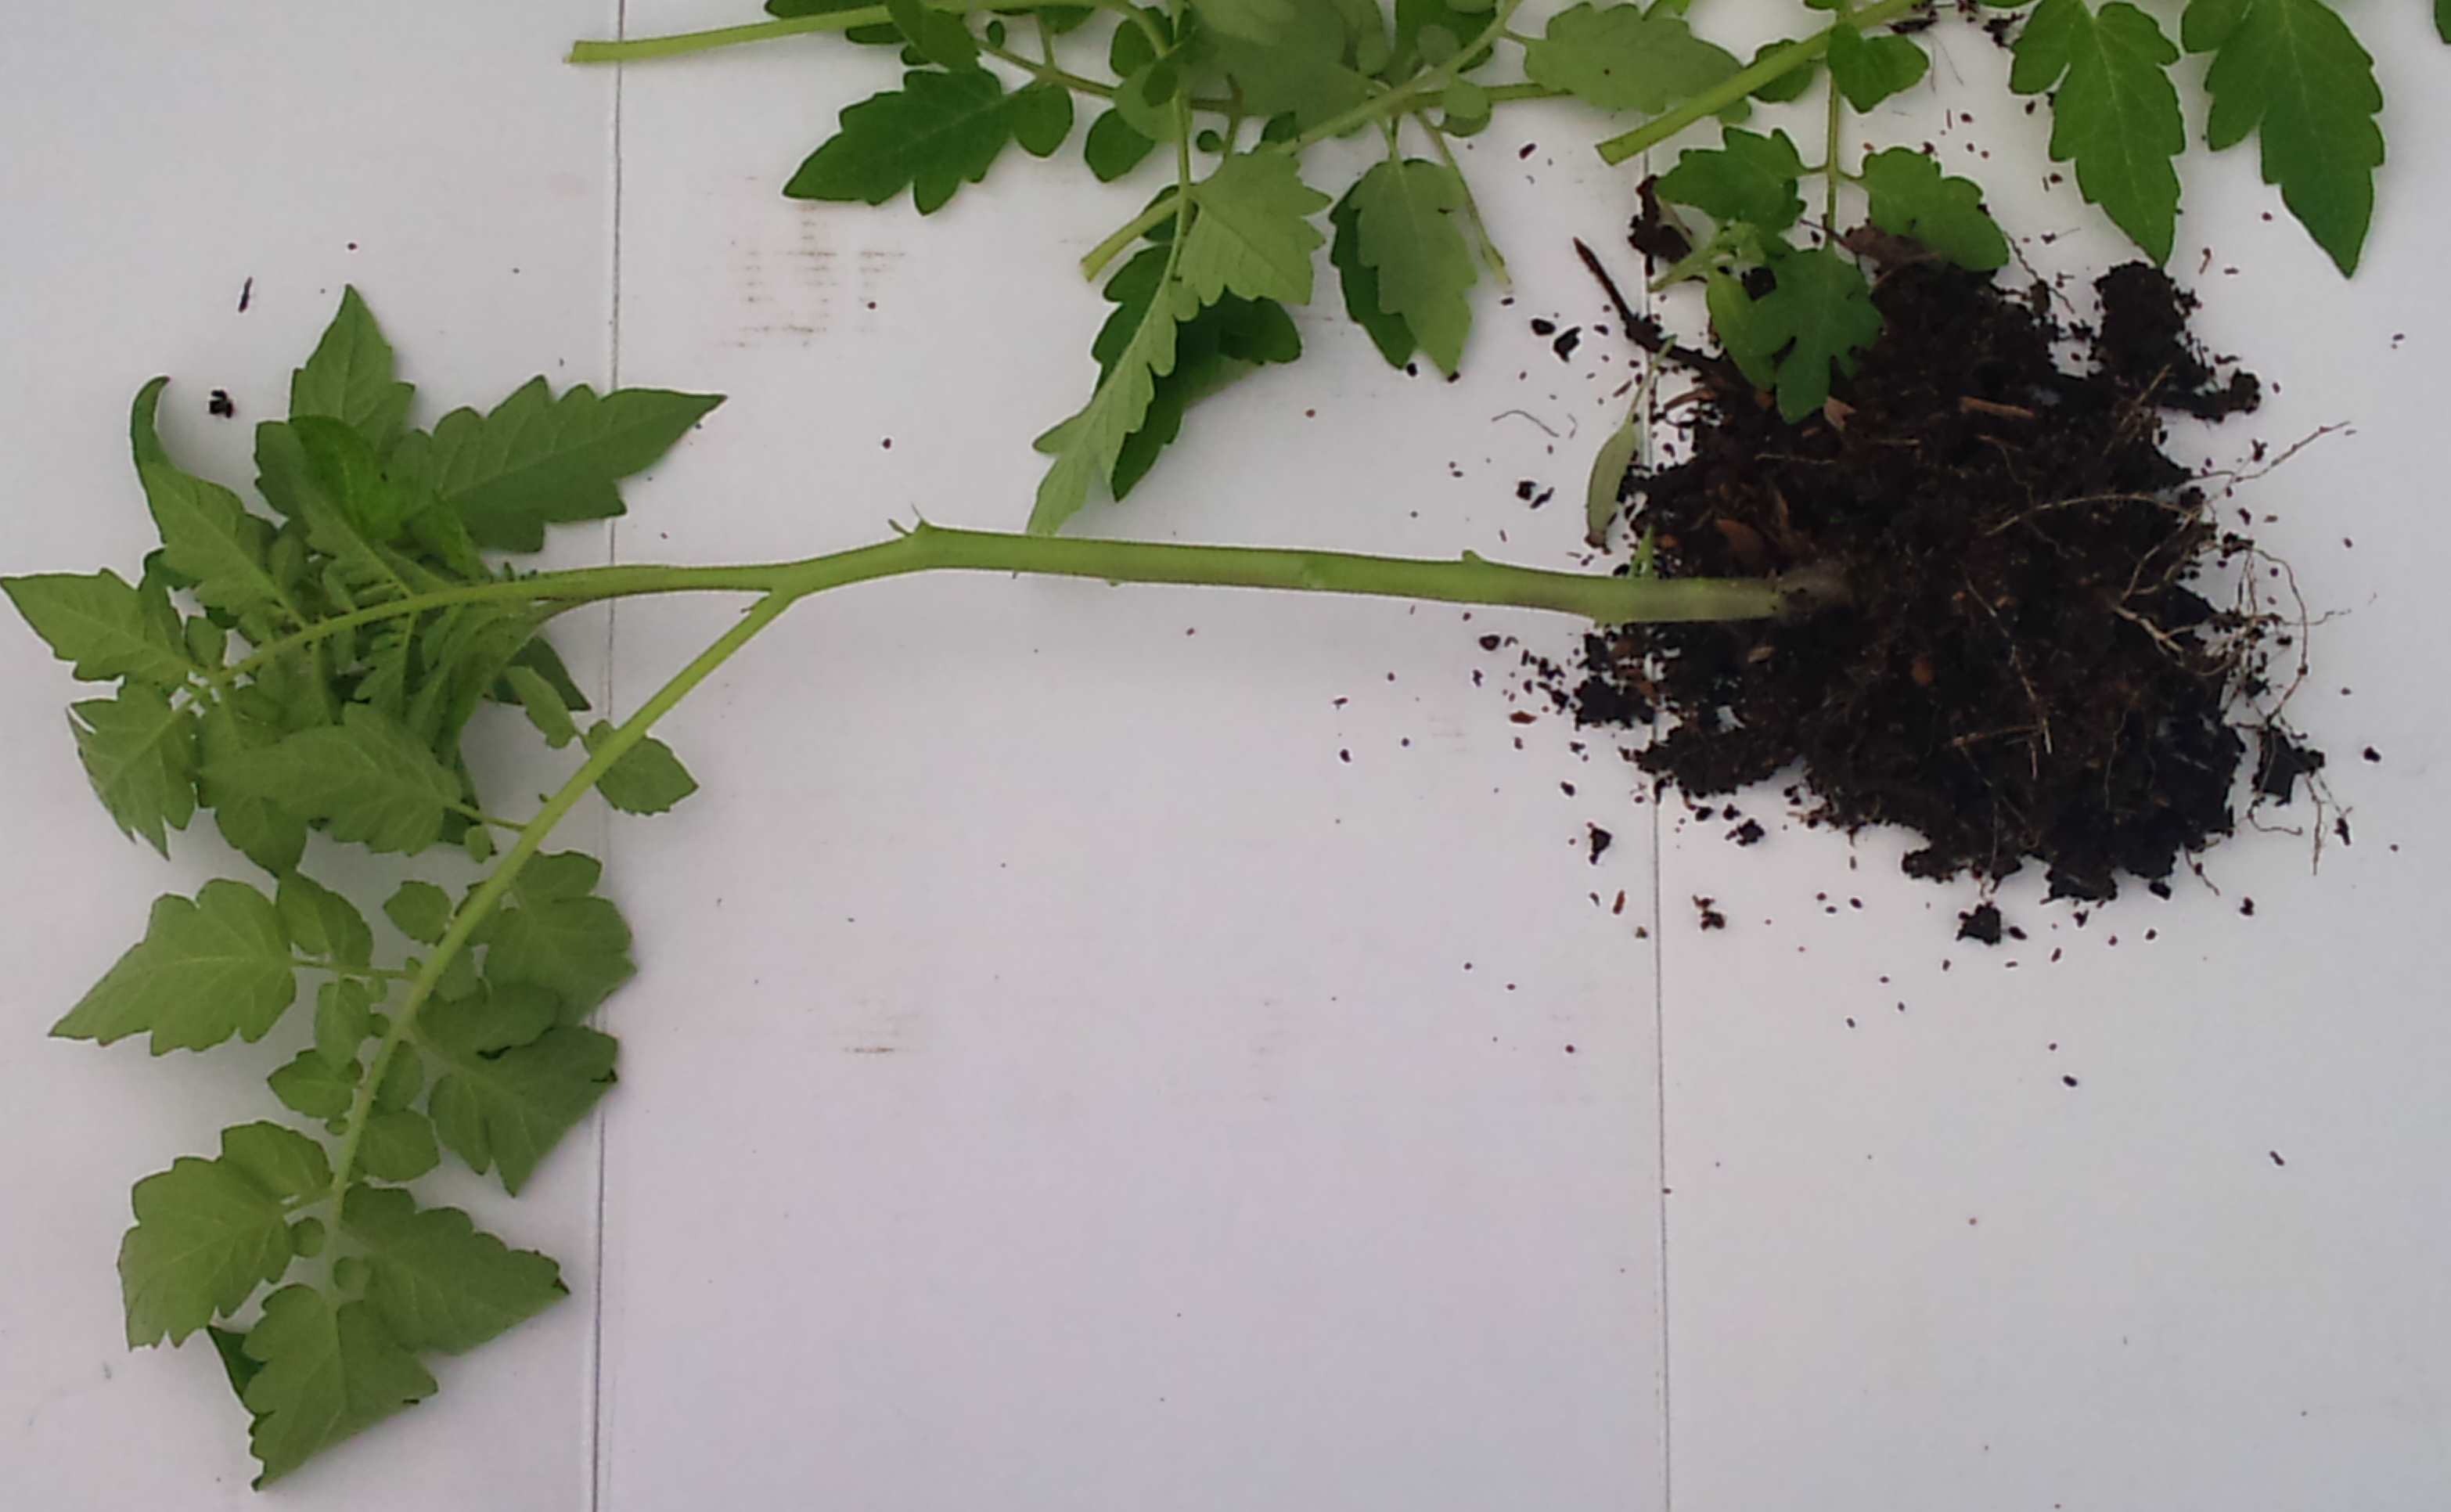
Take the seedling and remove the branches and leaves up to the last three at the top.
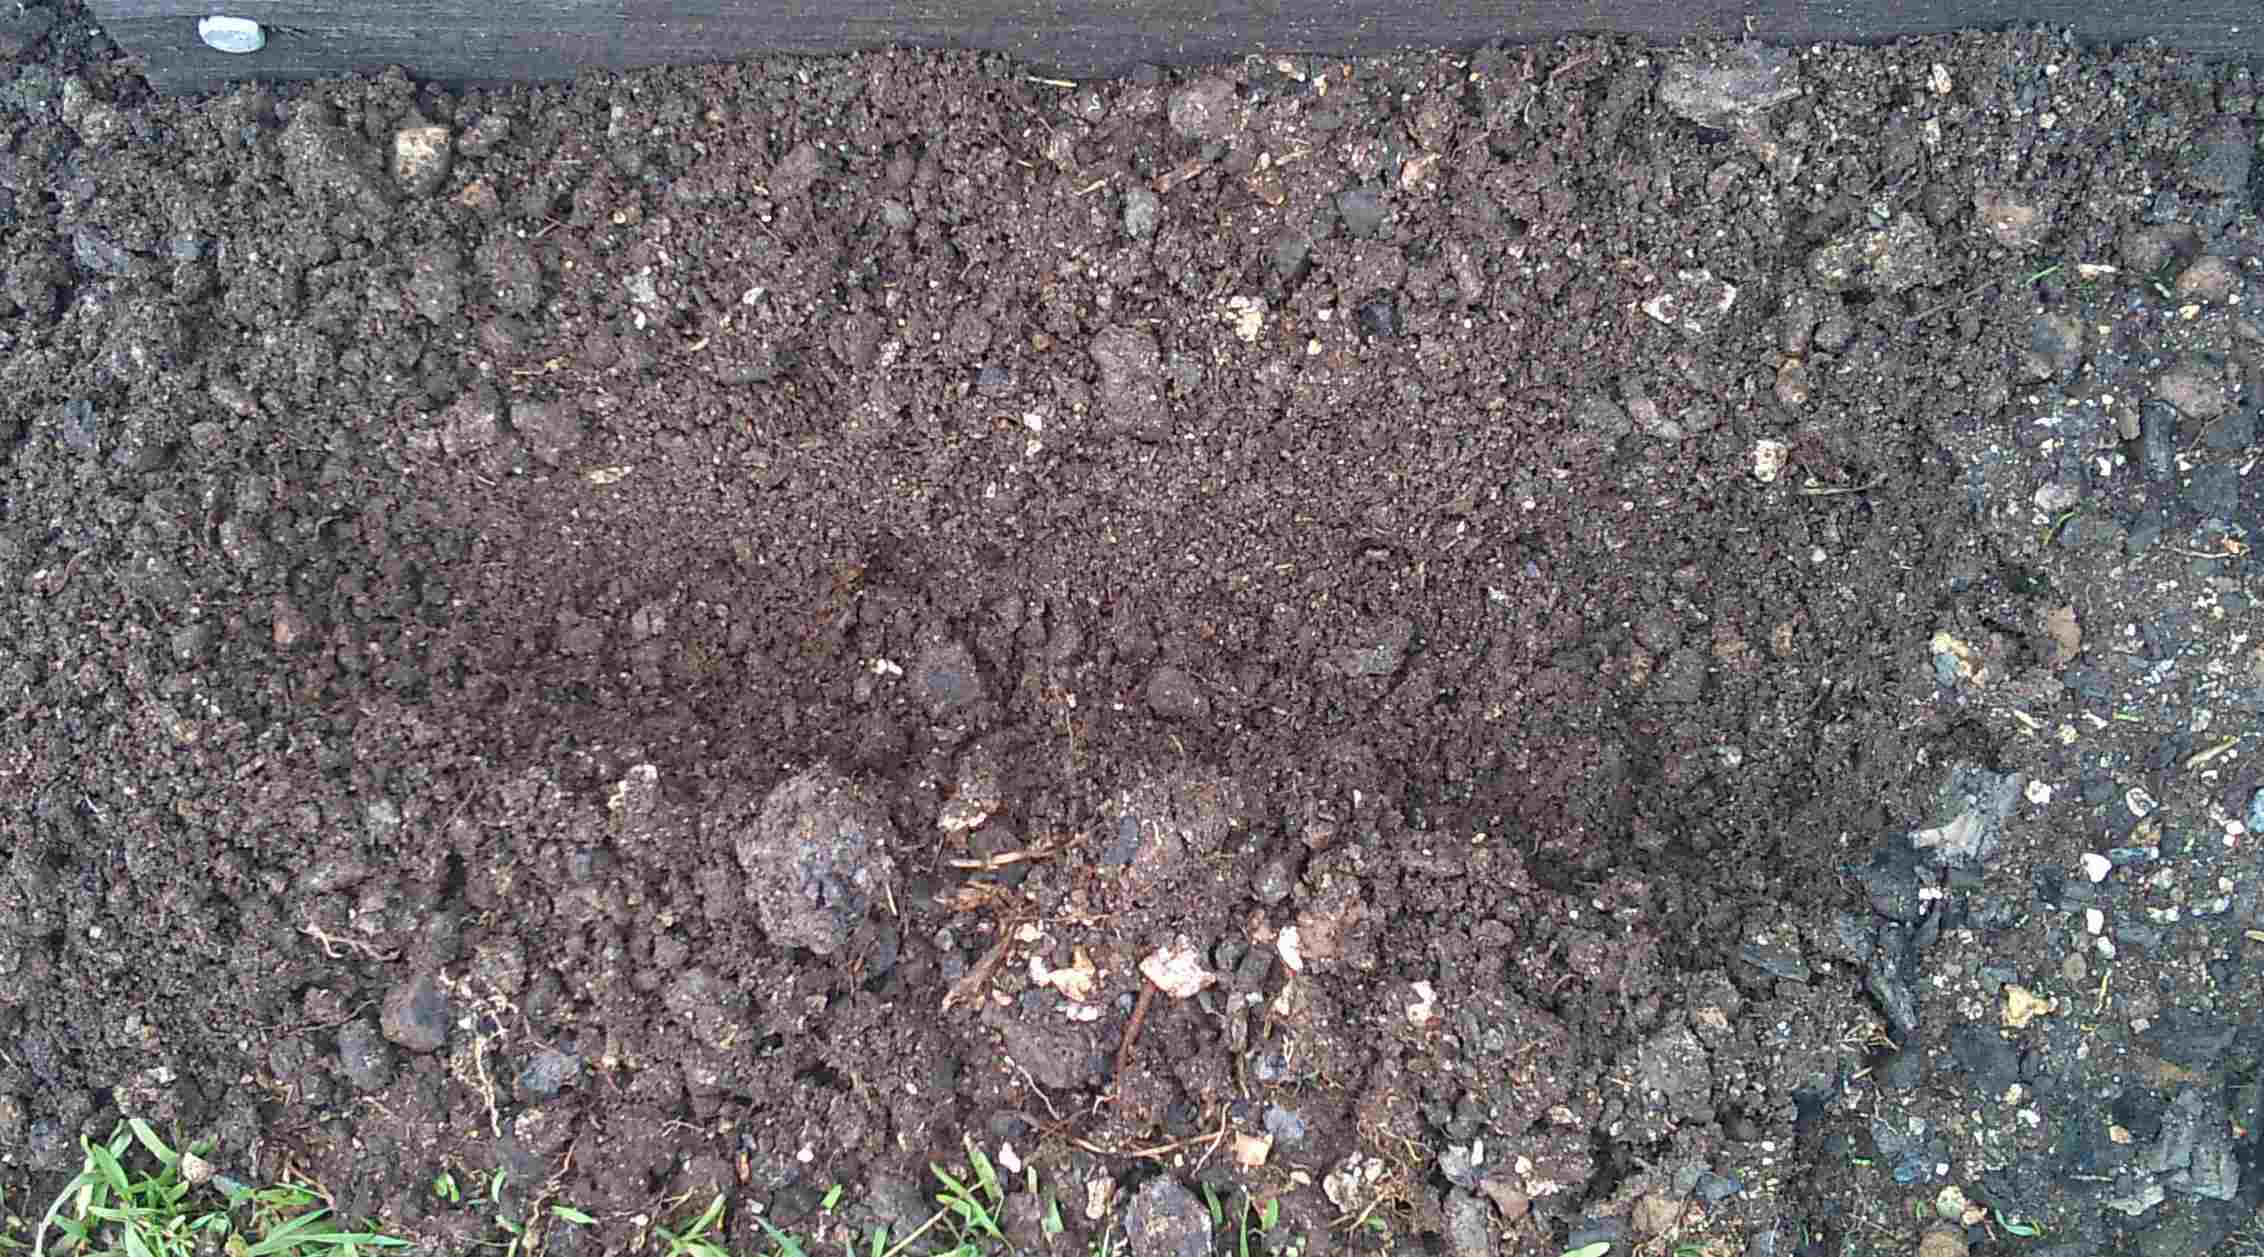
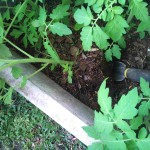
Create a trench in the position you want to grow your tomato.
Planting Trench
Lay the tomato in the trench with the top above the surface of the soil or growing medium.
Don’t worry if the tomato is not standing up, it will after a couple of days.
By planting this way you have increased the root area by over 100{cd07be7979728a86b172d4c3c193ee8254293b2598ced4c874c66a7b3dbba444}. A tomato will produce roots from any part of the stem that is in contact with the ground or growing medium.
After Planting
When transplanting a tomato or any seedling there is usually some transplant shock. This can take a couple of days to a week for the plant to recover, depending on soil temperature and how much root disturbance. Once it is over transplant shock your tomato plant should power away.
Natural Gardening
Recap of Lactobacillus propogation so far
Rice Wash was placed in a 2 litre ice cream container.
A good shady position was found under the trees.
The lid was left part open so that airborne bacteria was attracted and able to colonise it.
It was late May in Brisbane with temperatures from 10degrees C overnight to average 23 degrees C during the day.
After 6 days the container was removed and the contents strained into a larger 4 litre ice cream container.
Milk in the ratio of 10:1 was added to the container to increase the growth of the Lactic Acid bacteria over all other bacteria in the rice wash.
6 Days Later

Curds Floating On Lacto Solution
I have just removed the container to seperate the curds from the wash with the Lactic Acid bacteria.
They contents have a cheesy smell – not unpleasant. After 2-3 days it smelt like kid’s vomit, but has improved considerably.
Speaking of curds, that reminds me. What did Saddam Hussein and Little Miss Muffet have in common? They both had kurds in their whey. (My apologies if I have offended any Kurdish people, but for an English speaker it is a great play on words – not so great if you were being persecuted though. Would it offend me if it was a similar play on words in another language about Aussies being slaughtered? Good question. I’m considering whether to remove this section or not. I told this to a Kurdish guy some years ago and he laughed, but he was quite at ease with himself and had lived in Australia from an early age. Hmm, more thought required. In the meantime back to the lacto.
Separating Curds and Lactic Acid Bacteria Solution

Curds After Removing Lacto
I found the easiest way to separate the curds and lacto was to pour the liquid into a plastic2 litre milk container. The curds stayed solid and didn’t break up or get into the container.
I then added about 500g of raw sugar to the milk container. This is food for the bacteria while it is in storage.
The left over curds were thrown onto one of the worm farms and covered with the hessian bag.

Lacto Solution With Sugar Added
Part 3 will be using the Lactobacillus Serum
To see Part 1, go here Lactobacillus