Experiments, Natural Gardening
I like growing Soy Beans. Don’t ask me why as I have no real reason to. I think it stems from my days on a sugar cane farm where we grew it as a soil conditioning crop which made the cane grow gang busters when planted after soybeans.

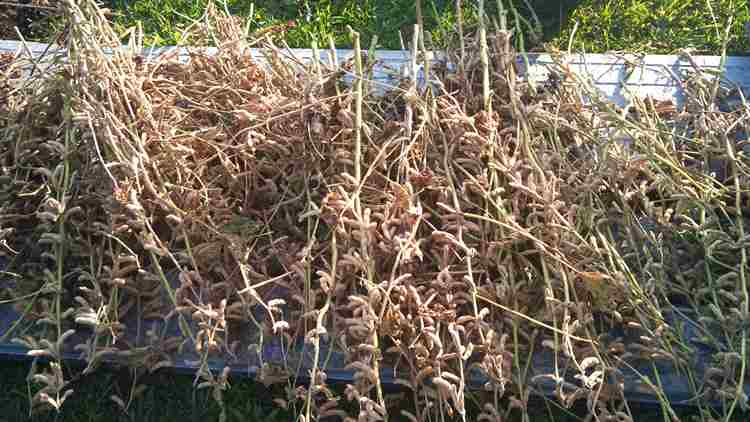
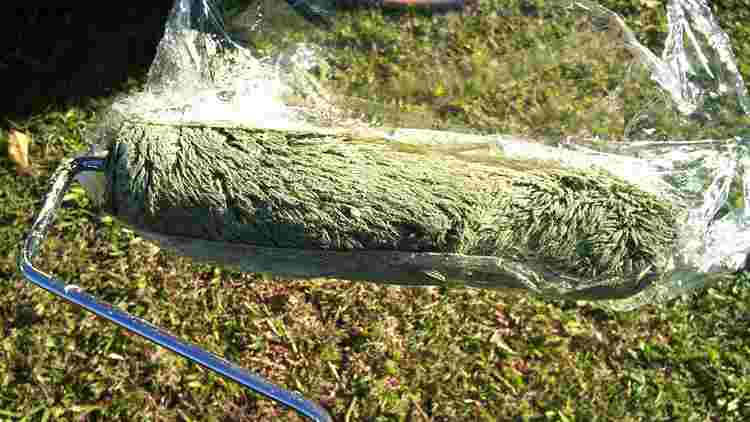
A few more weeks needed for the soy beans to dry to the right moisture content
I grow them in any new gardening bed as the first crop. This year I had a new bed that I made by solarising the weeds with black plastic for 12 months and then covering with a layer of big cardboard boxes I had been collection and then covering with 30cm of compost. I also threw in some crusher dust and lime. Soy beans love lime.
Final drying after harvesting
To harvest them I cut them off at ground level, leaving the root system in the ground. Hopefully the rhizobia nitrogen fixing bacteria will survive in the root nodules until another crop they like is growing. Now I have to find a use for the beans.
My answer to a use for the soy beans is soy milk. Another use is green soy beans as an entree, see this link for eating green soy beans Soy Beans and Nitrogen Fixing Bacteria
Where to get Soy beans, if you don’t grow your own

Available at Asian Supermarkets
If you don’t want to grow your own soy beans, you can buy them at Asian grocery stores. They are not expensive, around $4 for 1 kilo. The soy beans that you use are white or cream in colour and you only need a cup full to make around 1.5 litres
Traditional Taiwanese method for making soy milk
You will need a blender, a big pot, soy beans, a deep bowl, a stirring spoon and a muslin or filter bag.
Place the beans in the deep bowl, cover with water and soak the beans for 6 – 8 hours.
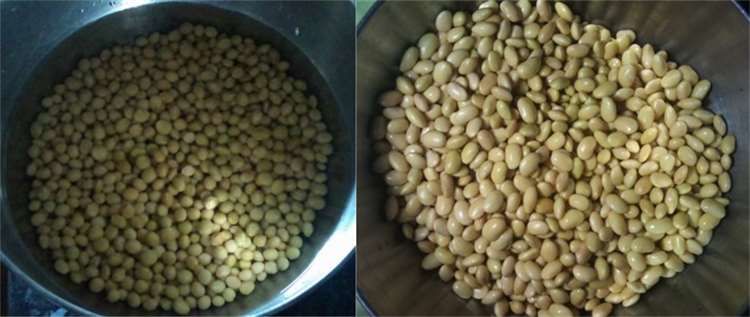
Soy beans with water covering ready for 8 hours soaking and after soaking
How to know when your beans are ready for making soy milk
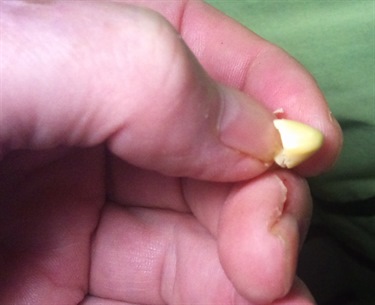
These beans are ready for making soy milk
To test whether your beans have soaked long enough, dig into one with a finger or thumb nail. If you can split it, your beans are ready for the bender.
The beans expand to nearly double the size after soaking.
Add equal quantities of beans and water to the blender and run it for a couple of minutes.
If the blender seems to have trouble moving the paste, stop the blender and add some more water and stir it up with a spoon. Blend again and then strain into the big pot. Place the pulp back into the blender and add the same initial amount of water and reblend.
Bring the strained soy milk to the boil slowly, stirring constantly so that you don’t burn the milk. A big pot is helpful here, because like cow’s milk, it will foam when about to boil and expand to overflow a small pot.
Once it has boiled, turn the heat down and simmer for 30 minutes. Again you need to stir it so that it doesn’t burn.
After 30 minutes remove the heat, add some sugar if you need it, or stevia if you have it, or try some honey. We started with 2 small cups of beans and ended with 1.8 litres of soy milk. If you have ever been to a Taiwanese breakfast shop and tasted their soy milk you will probably agree that the taste is completely different to the cardboard flavoured product you purchase in supermarkets.
Wicking Beds
I finally got off my dot and started the wicking bed construction. The first order of the day was to complete the second coat of exterior paint.

Second coat of paint finished
I got motivated and moved the sleepers onto the pad and gave them all a second coat of exterior paint. Moving them wasn’t my smartest move as I had to move them all off to start construction. Talk about double handling.
Same paint roller
The first coat of paint was applied on March 28 and the second coat on May 8. The roller was wrapped in cling wrap for that time. I peeled off the cling wrap and used the same roller.

Late in the day
I put in a few hours the next day on the wicking bed construction and nearly forgot to take a photo. This one was late in the day.
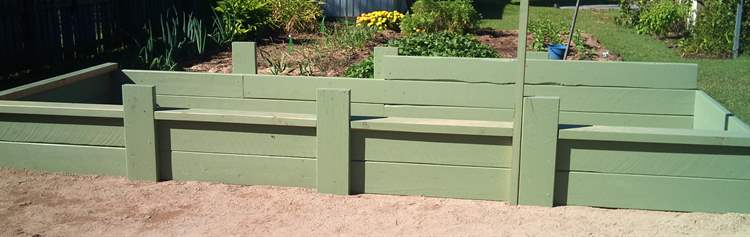
Some time spent thinking led to a few changes
Some changes were made to the plan
Quite a few changes were made during the wicking bed construction. I had actually drawn up a plan before I started, but as I progressed I saw some ways to change it that I thought would be for the better.
First, I changed from having the sleepers all join at the same place to having them in a brick pattern. That meant I had to cut one sleeper in the second row in half. I felt that this would make the construction a little stronger as the bed is just sitting on the ground. None of the uprights are sunk into the ground. The brick pattern wouldn’t be seen as all the joins are covered on the outside with an upright, and once the bed is filled with soil and compost you won’t see them on the inside.
Second change quite an improvement.
Originally, my plan was for three layers of sleepers making the bed 60cm high (2ft). After thinking about this for quite a while, I decided that a depth of 45cm would be sufficient as the bed was going to be used mainly for Asian vegetables and quick growing plants with shallow root systems.
By removing the top row I decided to put on a 15cm wide top cap that could be sat on. Nothing better than sitting down doing the gardening. A 15cm seat is much more comfortable than a 5cm wide seat. The top cap increased the height by 5cm.
There is also going to be a frame built over the bed for shade cloth. The shade cloth will serve a dual purpose of insect exclusion and wind protection. It will help keep the plants cooler in summer as well.
Natural Gardening
I have learnt a number of useful hints and growing tips for garlic. This has been over the last two years and trying four different garlic varieties.
- Garlic is a colder weather crop.
- Plant it from the Autumn equinox (22 March in the southern hemisphere) through to early Spring
- The warmer the climate the earlier you can plant.
- There are different varieties of garlic suitable for colder areas and warmer areas
- Saving your best garlic bulbs for replanting improves your results over time. You develop your garlic to be acclimatised to your area.
- Cloves of garlic from the same bulb can take anywhere from four days to 2 months to sprout, even if planted on the same day.

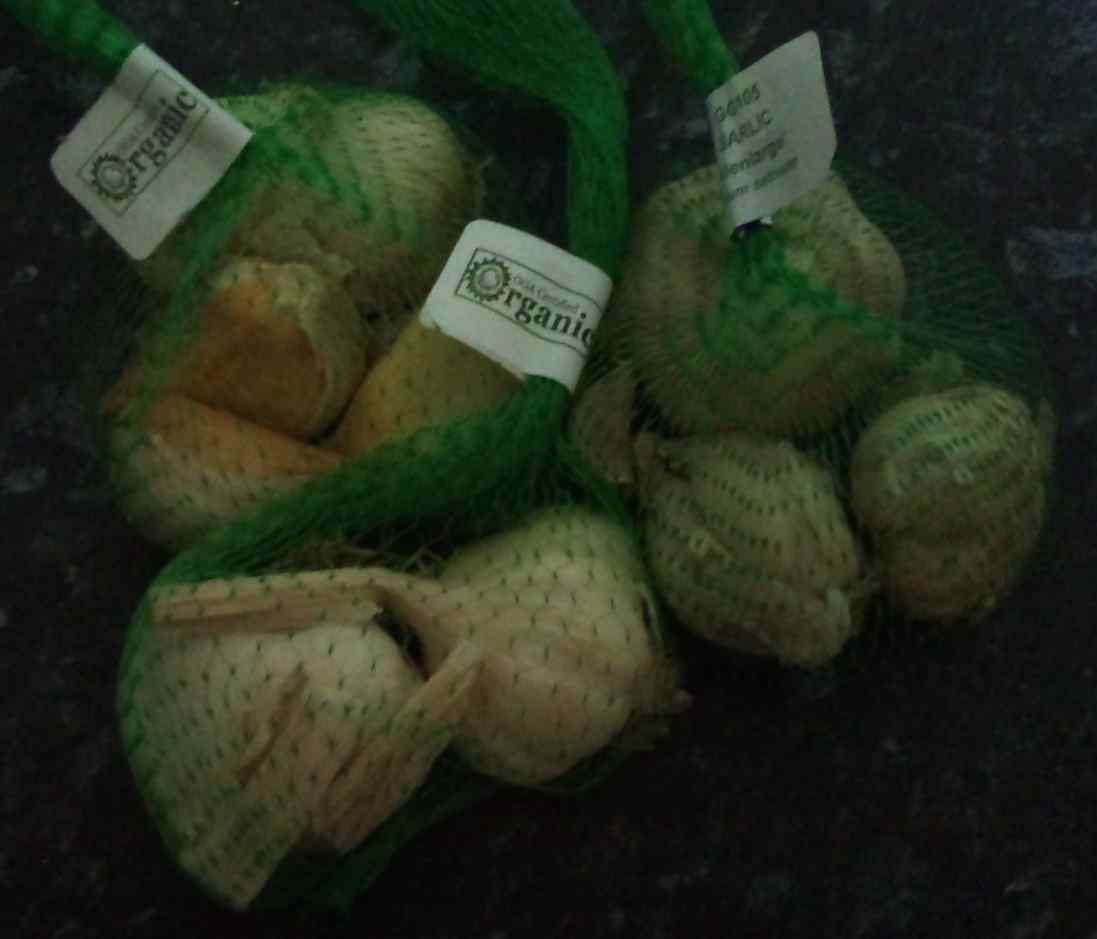
Although this Elephant Garlic clove was planted at the same time as the others it took 4 weeks longer to sprout
I purchase 5 cloves of elephant garlic, three took about 17 days to sprout, another appeared about 24 days after planting and this one just appeared, 48 days after planting.

Two cloves of Silverskin Garlic finally poked through after 48 days
Winterising Garlic (maybe suitable for garlic growing hints and tips)
There are a lot of claims that in warmer locations, if you put your garlic in the fridge for 4 – 6 weeks before planting it will improve the quality of your garlic. I have still to find out if this “winterising” of the garlic before planting is of benefit or not.
Next year, I will winterise half of a bulb and store the other half normally. I hang it in the shed in a hessian bag. When I plant I will mark them and see how the harvest goes.
There are other posts on garlic Garlic Update and Planting Garlic – Four Varieties
If you have any garlic growing hints and tips, help me out and add them in the comments.
Vegetable Trials
It’s a lot different growing outside in the backyard than in green houses or glasshouses. In a controlled environment you can regulate the temperature a little, ensure optimum watering efficiency and being enclosed stops the entry of a lot of insects.
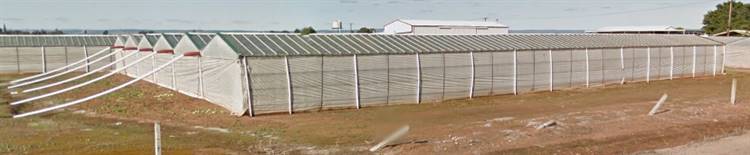
Old Style Glass Houses
It is a lot easier to monitor pest pressure and respond to it. Perhaps the hardest to guard against is spider mites and western flower thrip.
When I was growing organic tomatoes, cucumbers, capsicums and egg fruit, there was no need to worry about creating a micro-climate or wind protection. In a glass house that came with the territory.
I also didn’t worry about growing from seed. It was far better to have a nursery grow my seedlings than worrying about raising 2500 tomato seedlings and then looking after them for six months.
Get Some Satisfaction
But now there is no better satisfaction than growing some vegetables from seed, then saving some of the seeds from that crop and growing that vegetable the following season.
I have planted broad beans for the last two years and last year I saved some seeds by shelling the beans and drying them. I then left them wrapped in paper towel in an ice cream container.
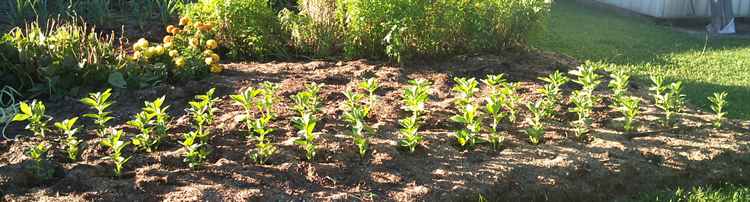
100{cd07be7979728a86b172d4c3c193ee8254293b2598ced4c874c66a7b3dbba444} Germination
I planted 40 broad bean seeds two weeks ago. I wasn’t sure how long they would take to sprout, so this time I wrote it down in a gardening log. I planted on the 12 April and the first sprouts appeared on 21 April. By the 24 April there was 100{cd07be7979728a86b172d4c3c193ee8254293b2598ced4c874c66a7b3dbba444} germination with 40 small broad bean plants underway.
100{cd07be7979728a86b172d4c3c193ee8254293b2598ced4c874c66a7b3dbba444} germination from saved seeds
One Small Step To Self Sufficiency
Being able to save my seed and regrow them the following season means I am independent and self sufficient. The other benefit is that I am growing a broad bean that is becoming adapted to my locality. Hopefully with some experimentation like best time to plant, watering frequency, whether to mulch or not I should be able to improve the yield. But then again, you can only eat so many broad beans and with forty plants, I will have more than enough for us and the rellies, work mates and Uncle Tom Cobbly.
Wicking Beds
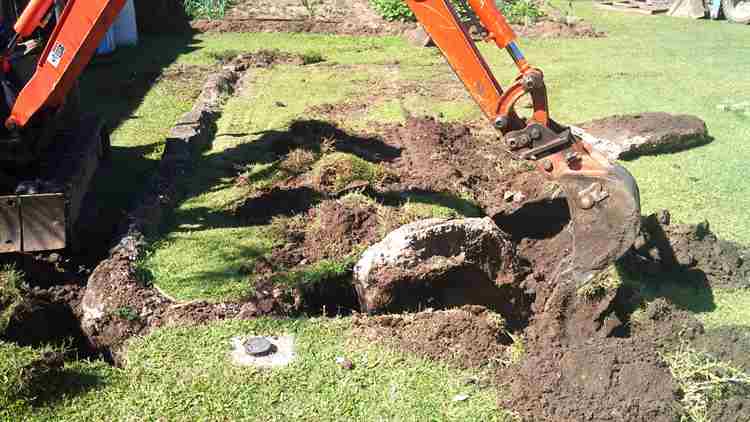
Last week I got Gino, who has a small business as an earth moving contractor, to do some work around the yard in preparation for the wicking beds.
Preparing the site for the wicking beds
There were some old foundations and an old Hills Hoist that I wanted removed. The site for the bed also needed levelling and a skidsteer was going to make life a little easier moving the compost to fill the bed.
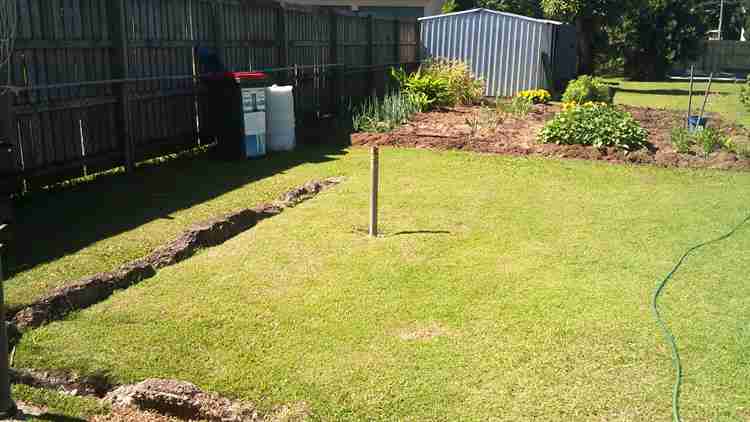
Yard area before levelling for wicking bed construction
Fortunately Gino has an excavator and a skidsteer and he brings them both when he comes to a job. The old footings were more robust than I thought they would be. They were set a metre into the ground and the skidsteer had no chance of getting them out.
The excavator was needed to dig out the old footings
After the old footings were removed, Gino used the skidsteer to transfer a lot of compost closer to where I was building the beds. He then levelled out the building area with some crushed concrete fines I had purchased a while ago getting ready for this part of the project.

The skidsteer levels the site with crushed concrete fines
Best laid plans of mice and men
As you can see from the photos, it was a perfect Autumn day in Brisbane when this work was done. Little did I know that 4 days later we would undergo one of the biggest rain events in 10 years. We had 250 mm (10 inches of rain) from Friday am through to Saturday am. The back yard was 100 mm underwater at one stage. At times I saw my thongs floating away and compost disappearing to the front yard.
The next post about wicking beds will be the construction of the frame using the cypress sleepers and fitting the plastic liner.
I took a couple of videos of the work Gino did and Gino even says hullo. When I work out how to edit them I will have a link. If you are in the north of Brisbane area and need a good skidsteer and excavator contractor you can ring Gino on 0414 867 754. He is based in Chermside.
