Natural Gardening, Vegetable Trials
This is my understanding from a number of papers from rebels in the agricultural science industry. Probably the most well known is William A. Albrecht PhD, Chairman of the Department of Soils at the University of Missouri. He lived from 1888 – 1974 and spent most of his life studying the relationship of soil fertility to human health.
In one of his papers he stated that Calcium is the most important mineral for plant health. Which in turn benefits humans who consume healthy plants.
He did thousands of studies growing all manner of grasses, beans, vegetables and fruit in all types of soils and the only variable he changed was the amount of Calcium. What he discovered was that when the soil reached a saturation point with Calcium, all of the test produce grew better and gave a higher yield. In many cases this saturation level was up to 8 tons per acre or about 17.5 tonnes per hectare. It didn’t matter whether the soil was alkaline or acidic, by increasing the amounts of lime in the soil the growing results improved.
More Lime Please

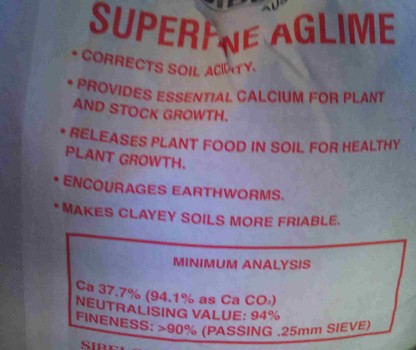
20kg Bag of AgLime showing the analysis
I usually have a small bag of lime in the shed and always throw some on before planting and every time I dig the garden over. But reading about Albrecht again and also one of his comtemporaries, V A Tiedjens, I got that stirred up I went and bought a couple of bags of lime to increase the calcium in the soil.
As you can see from the analysis there is quite a good amount of Calcium. Because it comes from limestone it doesn’t get used quickly and builds up in the soil. The conventional use for liming is to raise the pH of the soil. On the east coast of Australia we have soils described as acid sulphate and lime is used to bring the soil to a more neutral pH as close to seven as is possible.
Little did our farmers know that the pH balancing was not the greatest benefit they were getting from liming the soil. The increase in calcium and its availability to the crops they were growing was the biggest benefit.
The short description I have given here regarding Albrecht’s work does no justice the years of research he undertook and the derision he received for his views and tested opinions. The biggest scoffers at his results and writings were fellow scientists whose research was paid for by the agricultural chemical companies. They were closely followed by the agronomists working for the chemical supply companies. They were heartily unimpressed by another upstart stating that NPK wasn’t the be all and end all of plant nutrition. If farmers started to believe Albrecht where would their fertilizer sales be?
Soybeans and Lime – See the previous post regarding the protein increase in Soybeans from liming before planting.
Potatoes

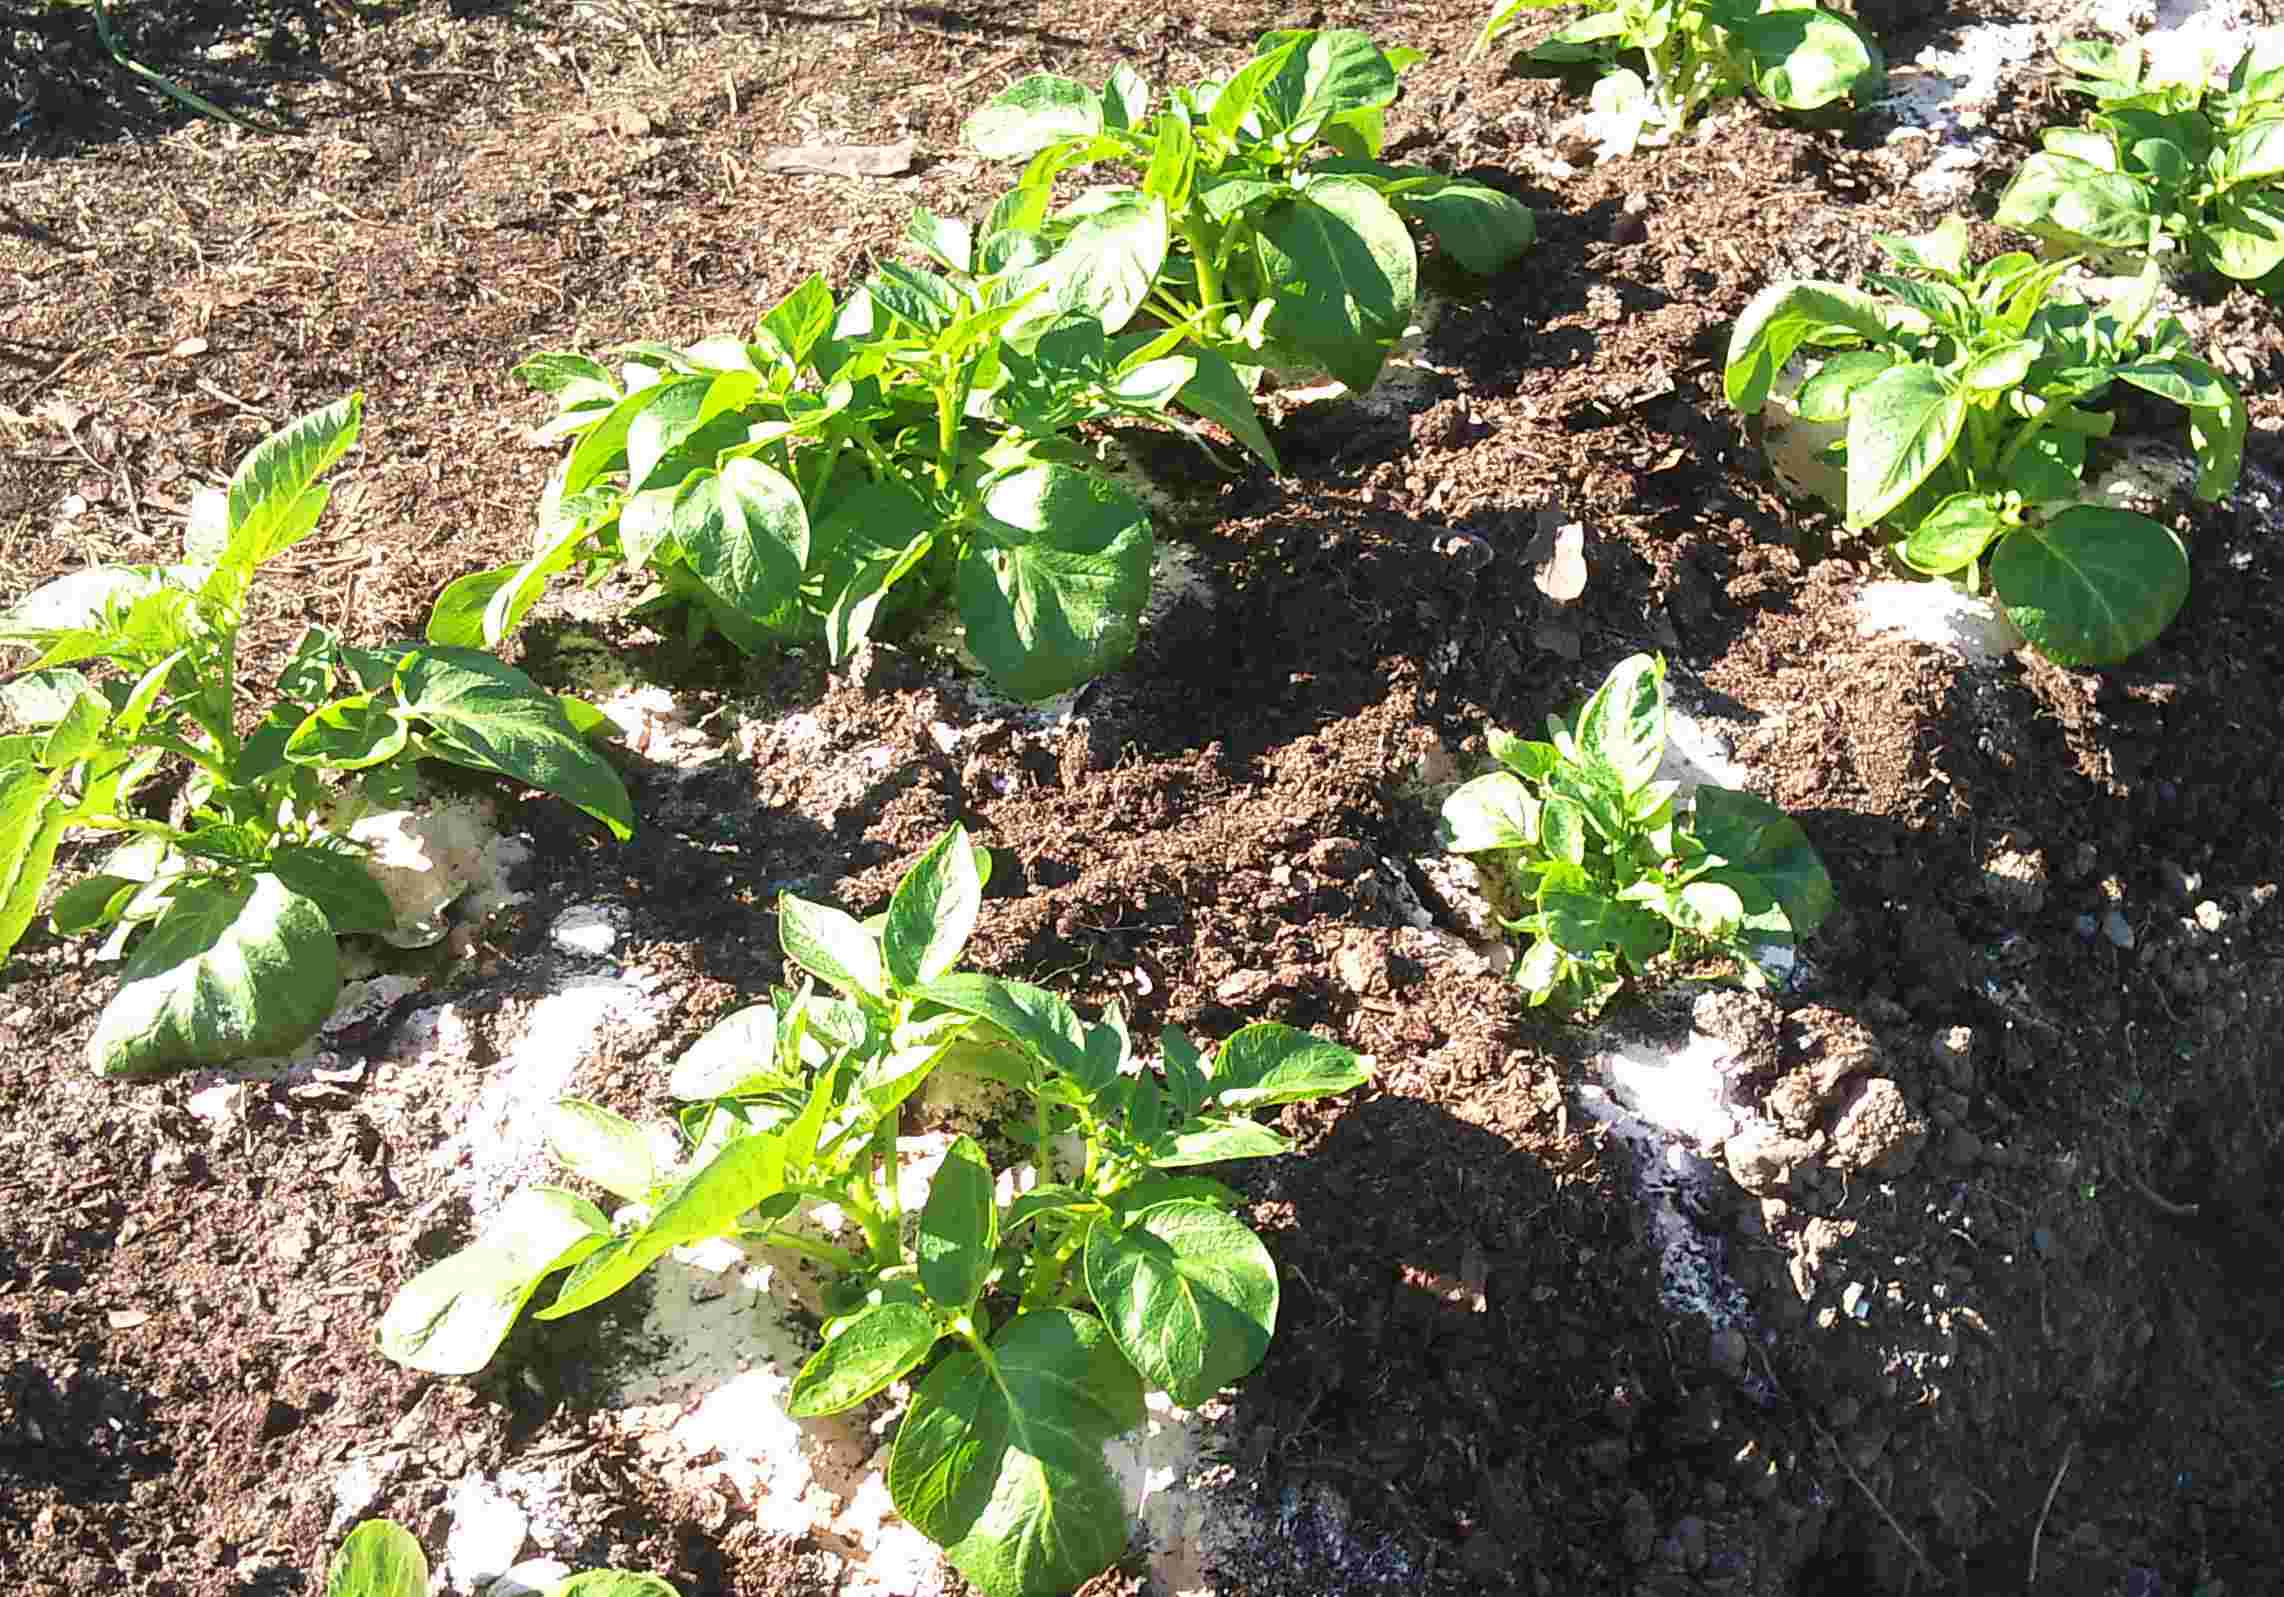
Lime around potatoes planted 1 month ago exactly
These were planted a month ago and I have just started to add compost to hill them up. The white stuff around them is lime. I am curious to see how much better these potatoes do than the ones grown in the cardboard cylinders in a previous post.
Difficult To Decipher
Here’s a link to one of Albrecht’s papers. http://www.soilandhealth.org/01aglibrary/010143albpap/ph.balanced{cd07be7979728a86b172d4c3c193ee8254293b2598ced4c874c66a7b3dbba444}20nutrition/ph.bal.nut.htm I guess a lot of people have found them pretty hard going. He definitely didn’t write them to receive a Pullitzer. If you take your time you will see all the evidence he collates for his assertion that Calcium is the chief plant nutrition.

It takes a while for the alternative points of view to mainstream thinking to take hold. On many occassions these rebel thinkers like Albrecht and Tiedjens must have sustained their beliefs by studying other radical thinkers like inventors and scientists who had an idea that everyone derided. Maybe they looked to Copernicus and Galileo for inspiration. Whatever moved them to hold true to their beliefs is now starting to benefit the rest of humanity. Slowly Slowly.
Vegetable Trials
Sebagoes
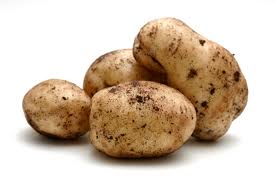
I was at a grower’s co-operative store about a month ago and they had some seed potatoes for sale. They were at the ridiculously cheap price of $2.00 per kg. I became the big spender, let the moths out and bought a kilo. I think they are Sebagoes but am not really sure. They were a whitey/cream colour when I bought them.
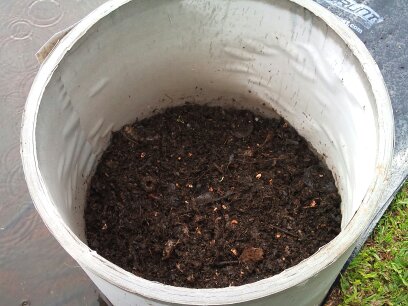
When I got home I got enthusiastic and used a couple of my cardboard tubes to plant them in.
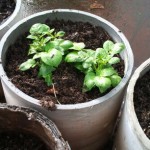
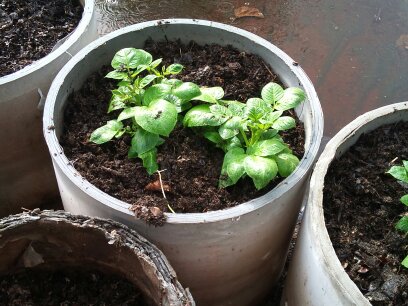
Container with a seed potato each side
I wasn’t sure how many to put in so only put a potato each side of the container. I had some old chicken manure that had been sitting around aging for about 12 months. I added this to the tubes with some compost and worms. It took about 2 weeks for the shoots to appear and they have powered on since then, although it has been cold and very wet.
I knew that as they grew I would get a better harvest if I kept adding compost to the tube making the leaves grow up further and giving more room for the tubers to grow.
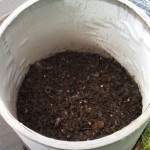
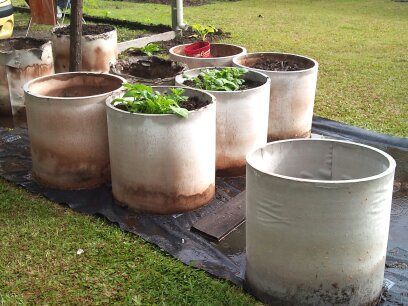
Containerwith 8 seed potatoes planted in Compost and worm castings
It has also had a benefit of keeping the bed from sitting in water. The tubes are about 75cm (2.5 ft) high.
I put the rest of the seed potatoes in the shed and forgot about them until the other day. Acting on my new resolution to do it now, I put some compost and worm castings in a third cardboard tube and placed the remaining 8 seed potatoes in.
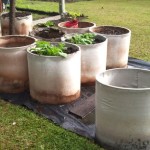
Leaves Above Top
You can see that the original plantings are growing well and I have nearly filled the containers with compost. Container 3 has a lot more seed potatoes in it and it will be interesting to find out which tube gets the best harvest.
Update 14 March 2015
As I write more posts and figure out ways to do things with my site, I find that there are many things I missed when starting out. So I have been going back and trying to make improvements.
This post was left hanging and there is no results section. Well here it is based on my memory of over 12 months ago.
The results weren’t as good as expected, the yield was quite poor. The best yielding container was the one with the 8 seed potatoes. The potatoes in all three containers were not very big. However they did taste great and it certainly makes a difference when you can dig up your potato and cook it the same day.
Since this experiment, I have grown potatoes in the ground and hilled them up as they grew. I also had a dripper system for watering. They had a much larger crop than the potato container experiment ones.
Vegetable Trials
Develop a big Tomato Root System
When laden with fruit, a good tomato root system is required to obtain enough food, minerals and water to sustain growth.
The best time to get a tomato to generate an extensive root system is when you transplant.
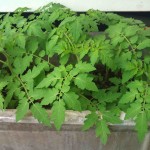
Volunteer Tomato Seedlings in old Laundry Tub
This year I removed an old laundry tub and placed it in a warm morning sun spot close to the house and a tap. I half filled it with worm castings and compost. I then put some bagged horse manure on top. The intention was to grow some strawberries.
It was a bit of a surprise when all these tomatoes started to appear. I guess the horse who supplied the manure was a tomato fan.
The seedlings all looked well and healthy so it is time to transplant them out and get them adjusted to our winter here in Brisbane. Currently the temperature range is 8 degrees C to 22 degrees C. Winter is the dry season here usually. This year it is still raining regularly and it is into the second week of June.
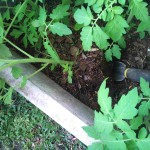
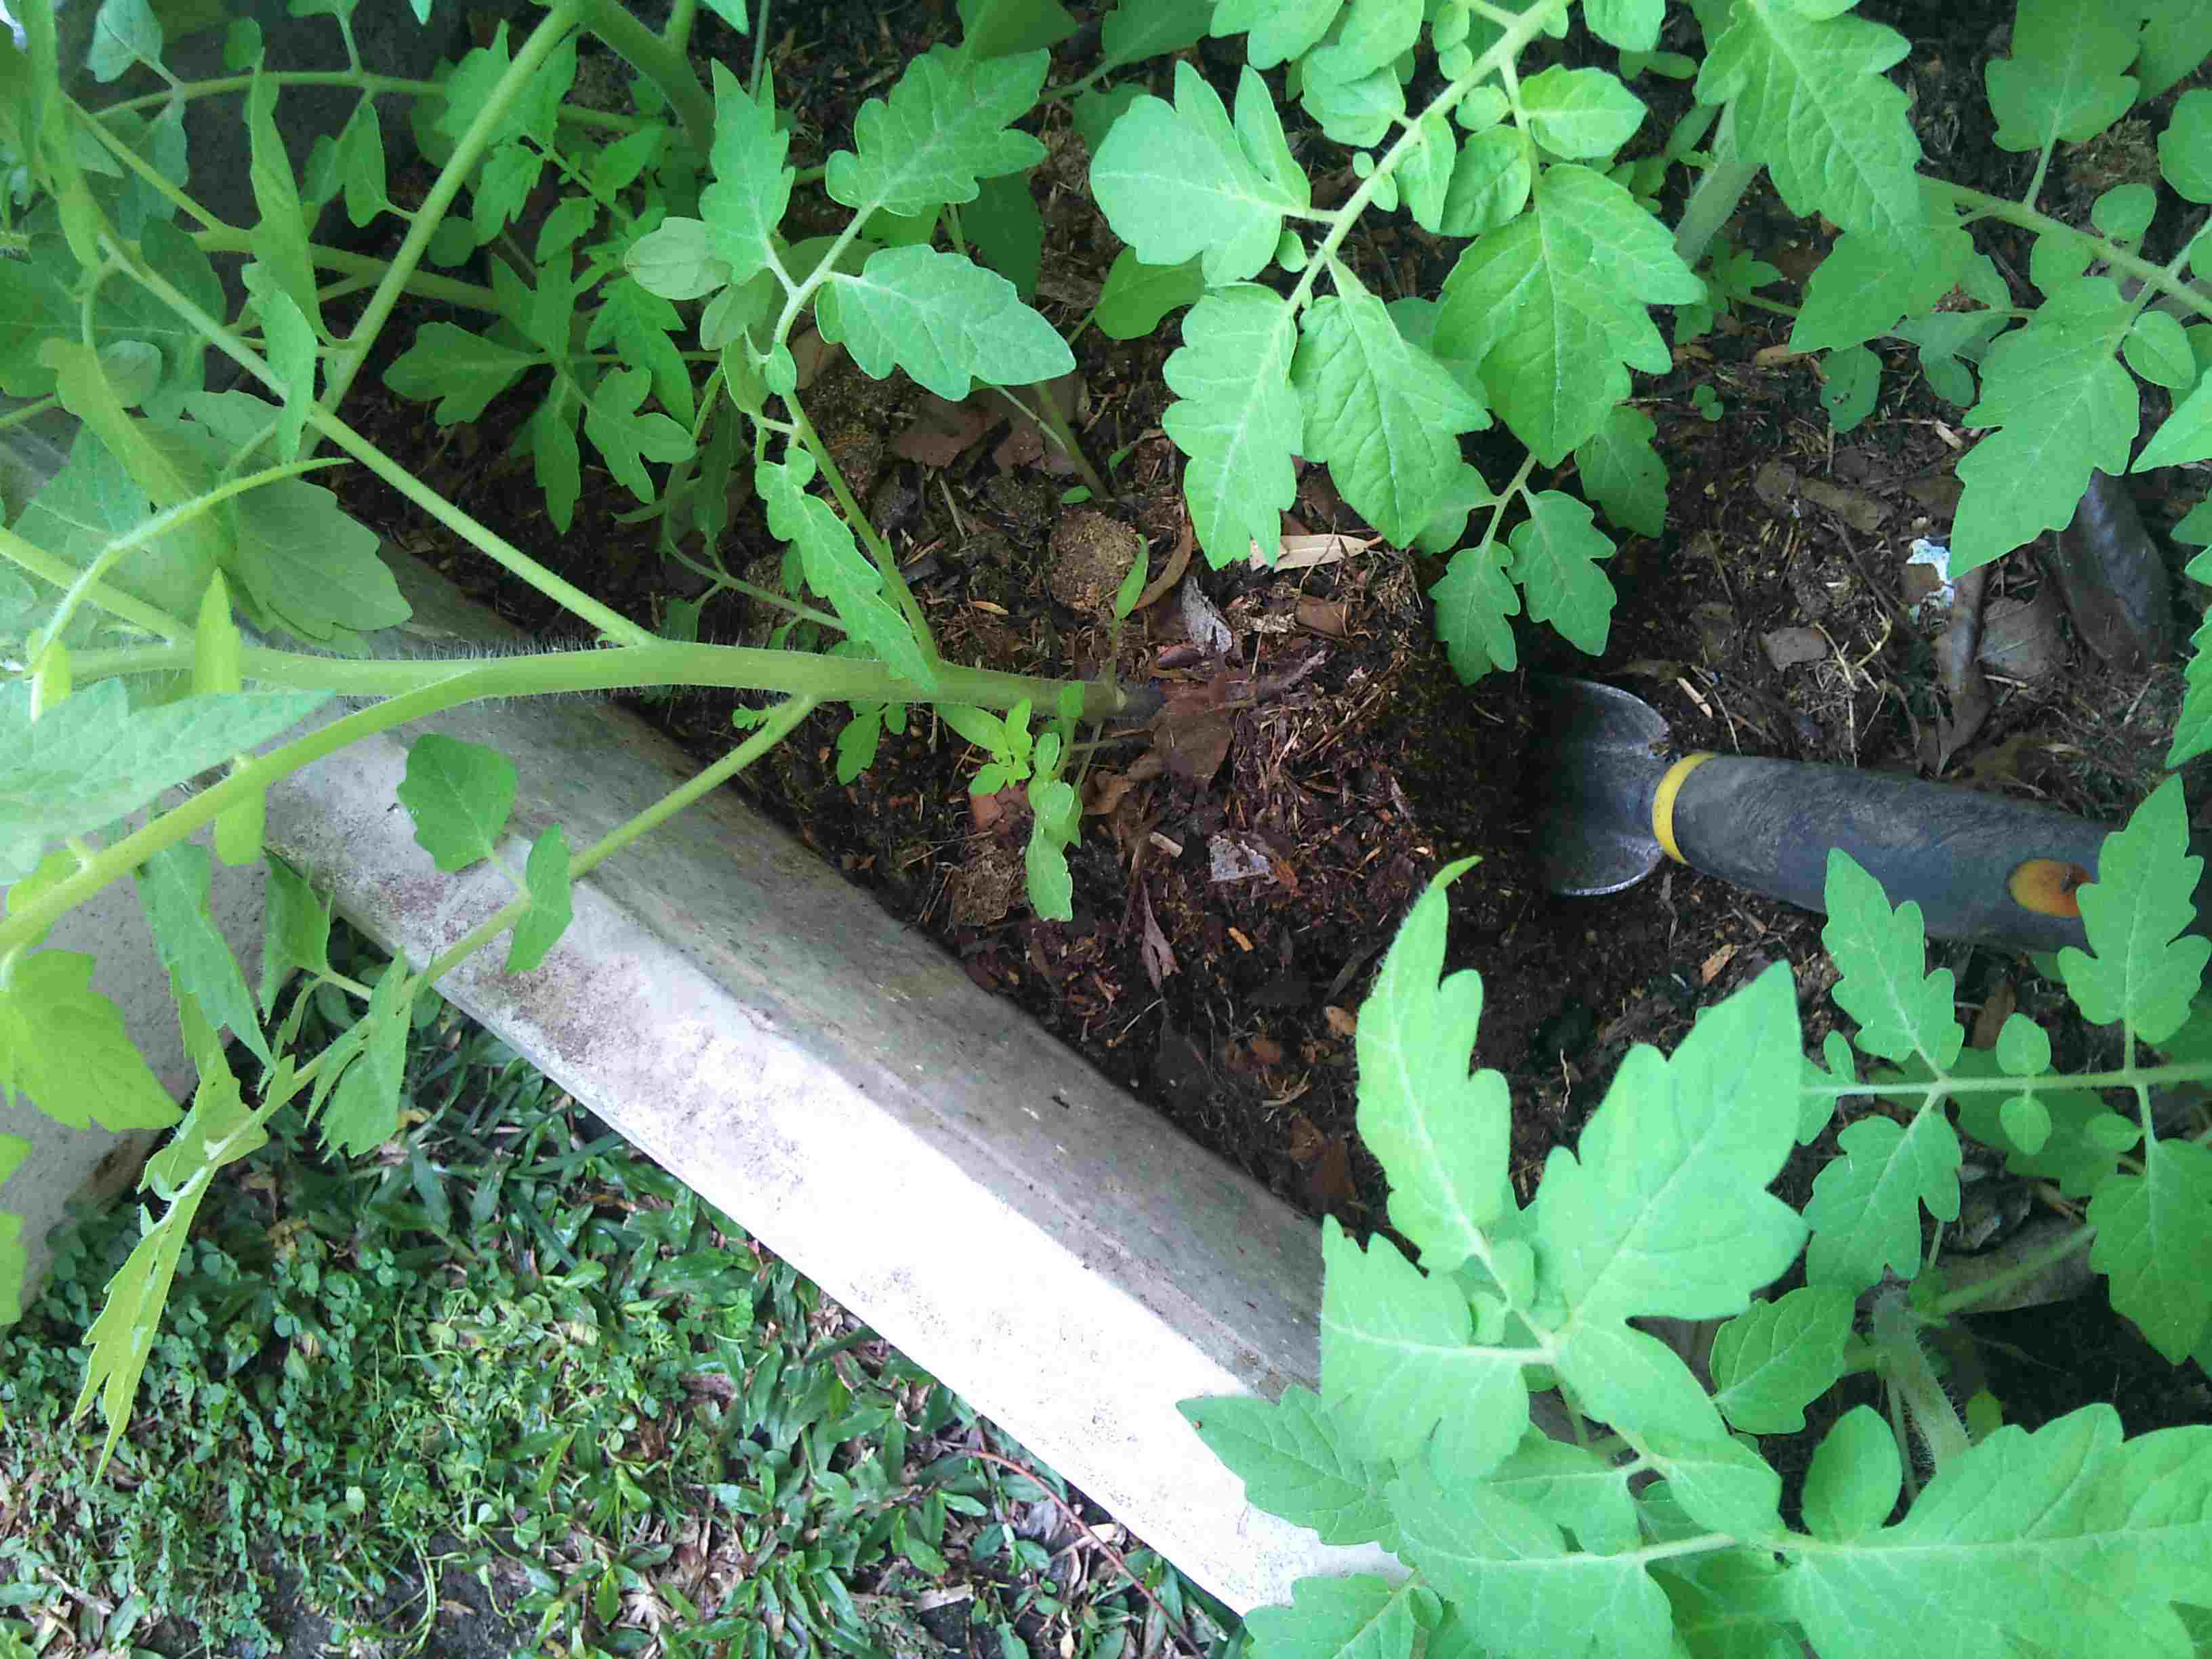
Digging Out A Seedling
The seedlings have shot up because of the warm position and the rain. They are quite leggy. Usually if I am growing tomatoes in a plastic house I don’t want them to grow too tall as it increases the distance between the bunches of tomatoes. To regulate the height of the tomato you water sparingly. Growing outside leaves you in the hands of the weather.
In this case the seedlings being quite tall is an advantage.

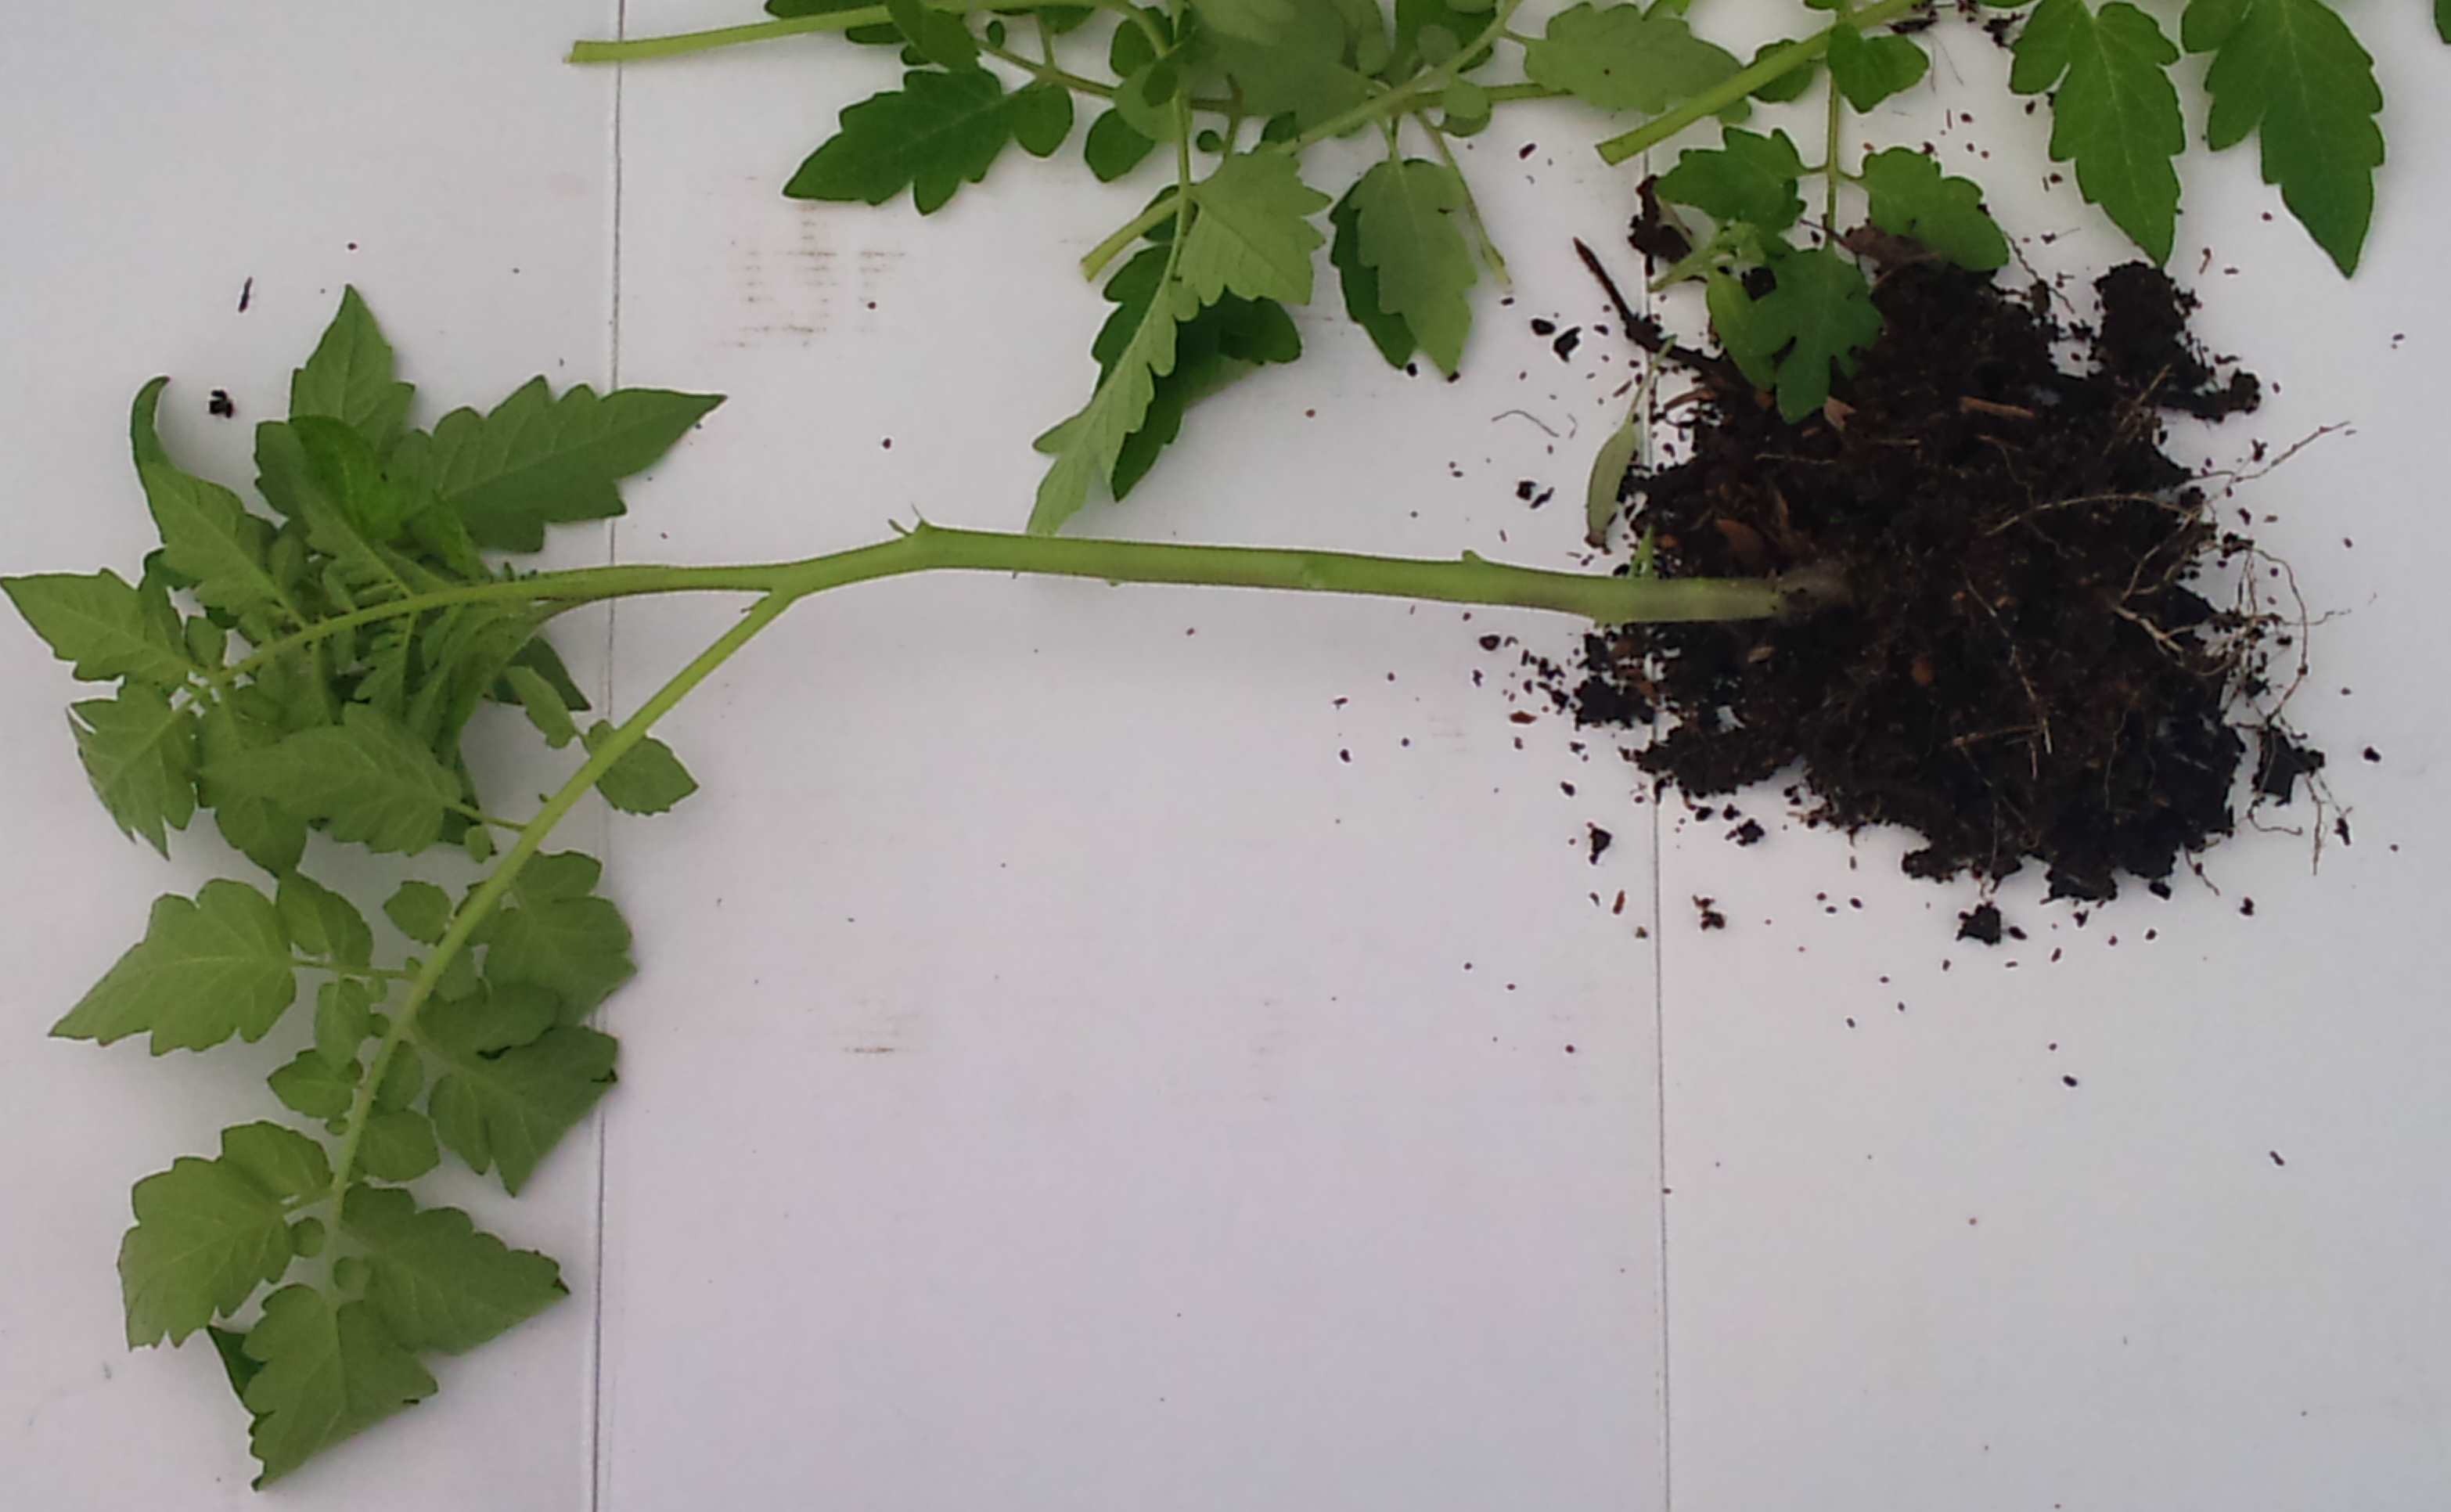
Before Pruning

After Pruning
Take the seedling and remove the branches and leaves up to the last three at the top.
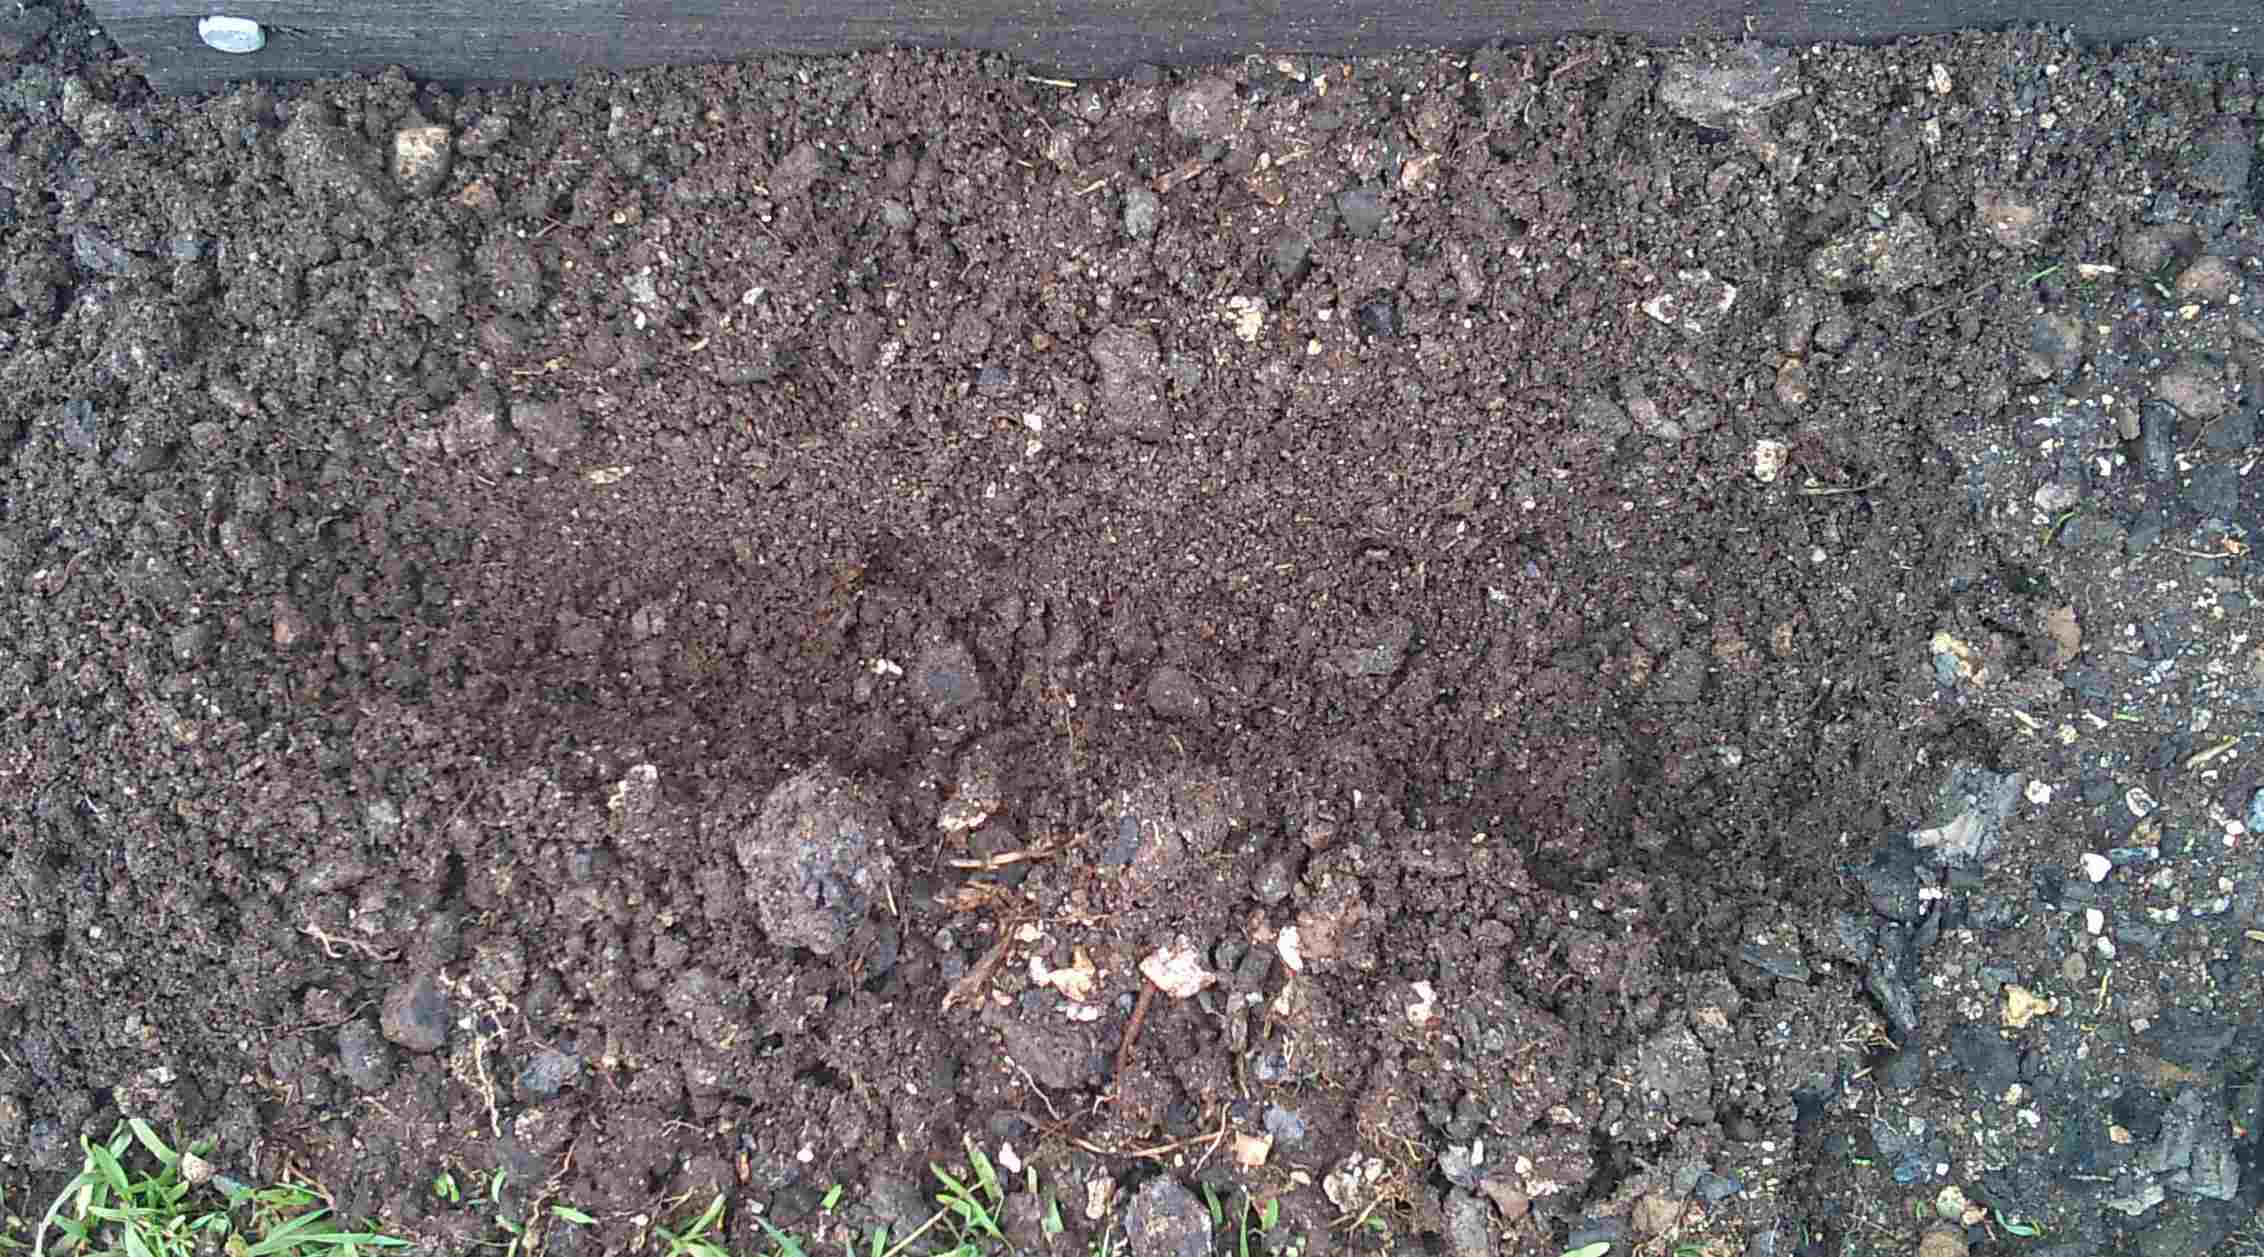
Create a trench in the position you want to grow your tomato.
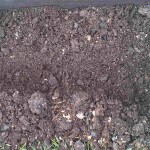
Planting Trench
Lay the tomato in the trench with the top above the surface of the soil or growing medium.
Don’t worry if the tomato is not standing up, it will after a couple of days.
By planting this way you have increased the root area by over 100{cd07be7979728a86b172d4c3c193ee8254293b2598ced4c874c66a7b3dbba444}. A tomato will produce roots from any part of the stem that is in contact with the ground or growing medium.
After Planting
When transplanting a tomato or any seedling there is usually some transplant shock. This can take a couple of days to a week for the plant to recover, depending on soil temperature and how much root disturbance. Once it is over transplant shock your tomato plant should power away.