
Compost tea seems to be a bit of a favourite in the gardening world at the moment. Whether it continues is a question for the future. There have been a number of advocates for brewing compost teas and spraying them onto your plants to increase their health and for want of a better term to improve their immune system and resistance to pests and disease.
A number of names spring to mind as champions of compost tea brewing. Elaine Ingham from the Soil Food Web and another bloke somebody Storch. I remember the Storch part because of Larry Storch, who played the part of Corporal Agarn in F Troop, which when I was a kid I thought was hilarious.
I looked him up, it is Steve Storch and he invented the Vortex Brewer http://vortexbrewer.com/about/steve-storch/
Simple Compost Tea Brewer in a 20 litre bucket

Set up and working
Here is the finished brewer set up and working.
Following is a list of items required
- air compressor
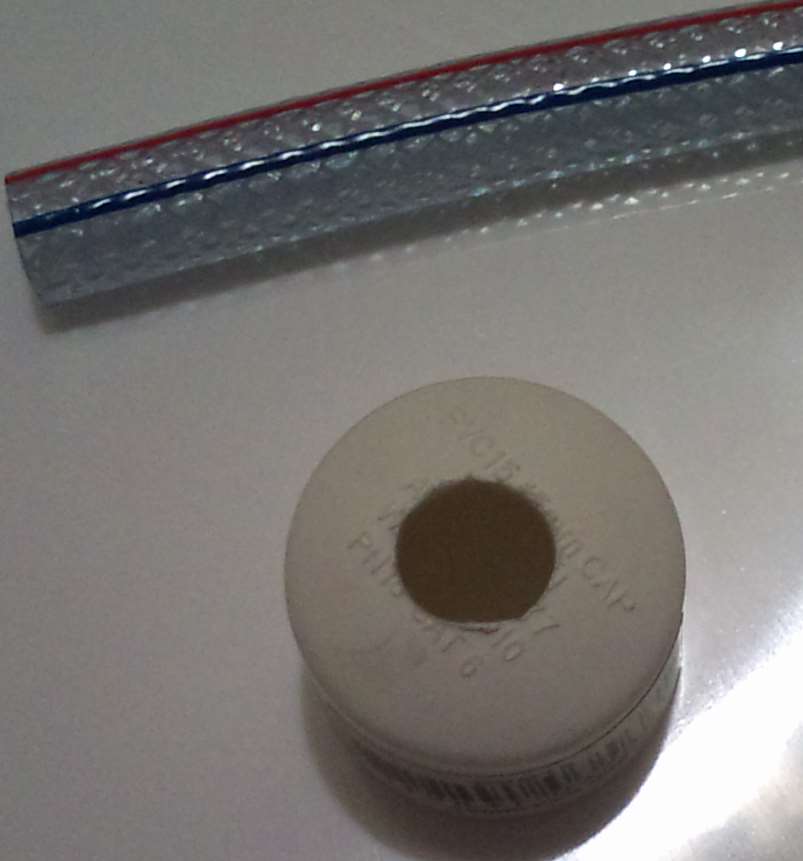
- length of 15mm plumbing conduit
- 3 end caps
- 1 Tee piece
- Fine tooth saw
- Silicone
- 8 mm drill bit and drill
- 16mm drill bit
- 3mm drill bit
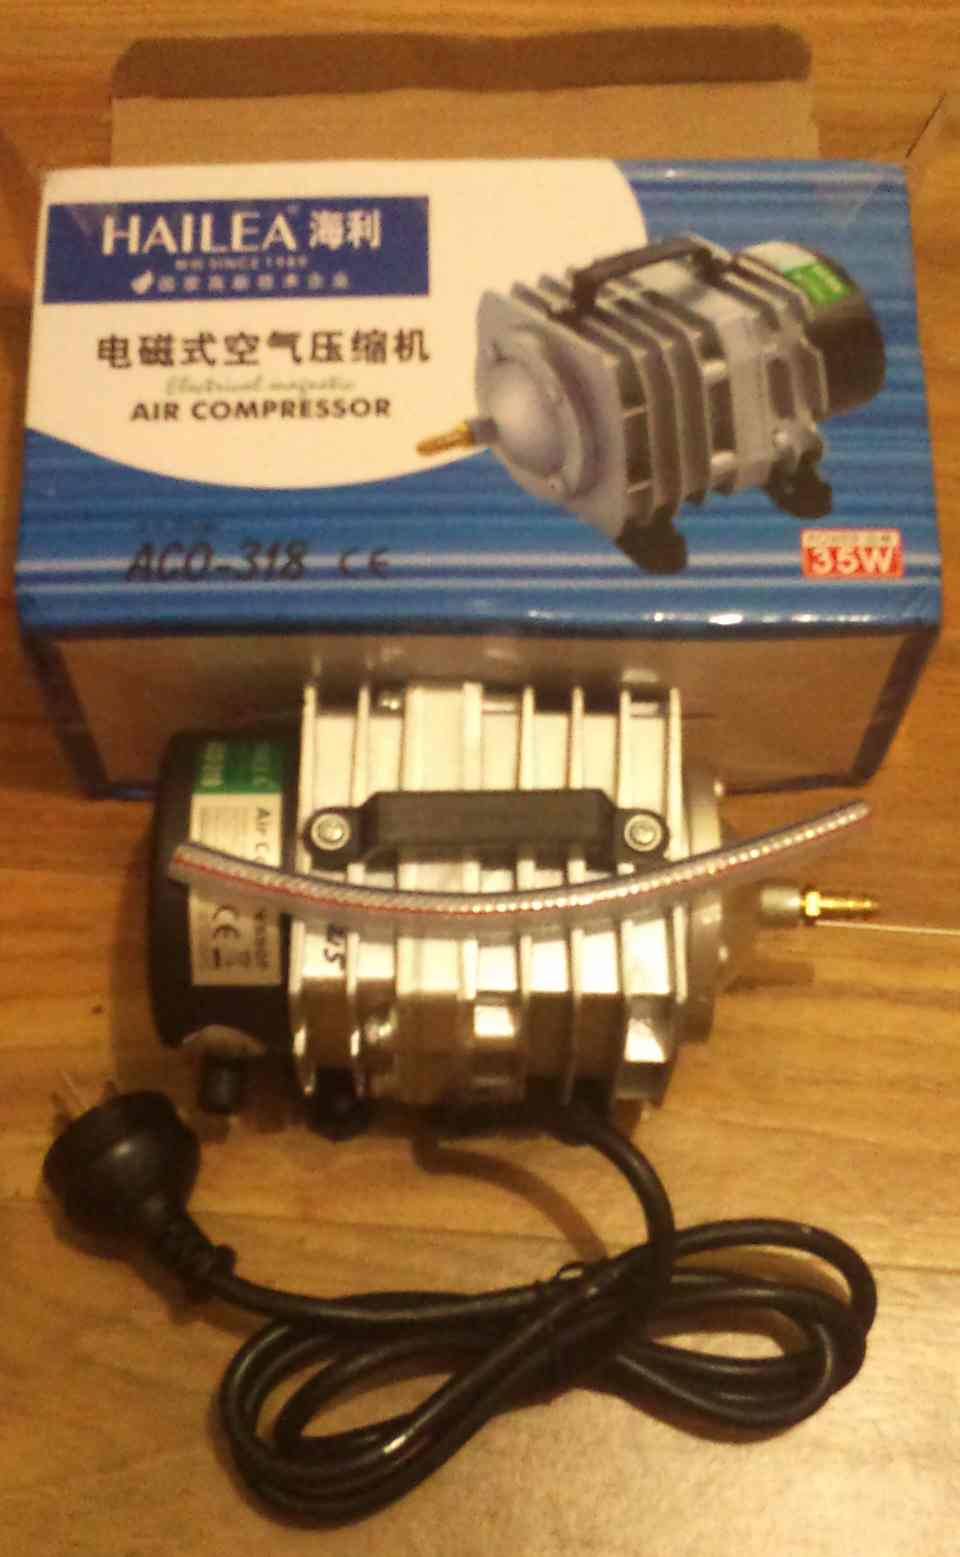
Aquarium air compressor delivers 60 ltrs of air per minute
60 litres of air per minute
A number of sites say that you can use a much smaller capacity of air compressor. But seeing as you want the process to stay aerobic then I think the extra investment is worth while.
Costs
- Compressor $80.00 delivered
- Conduit $ 1.90
- Tee $ 2
- End Caps 3 x 1.50 $ 4.50
- Bucket $12.5
- Total $100.90
If you wanted to experiment with a small aquarium aerator for $20 or $30 and a second hand bucket for $4.00 you can reduce your costs to under $50.
Compressor connecter parts
Connecting the air compressor
To connect the air compressor to the air dispersal unit in the bucket drill an 8mm hole in one of the end caps. Push the tubing from the compressor in the hole with about 6 mm pushed through into the end cap. Use silicon inside the end cap to secure the tubing.
Don’t put too much silicone in there as it may stop you being able to push the end cap on far enough. The 6mm will leave plenty of room.

All the parts to make the compost tea brewer
Air Dispersal Unit
Cut a length of the conduit so that it touches the bottom of the bucket and sticks up through a hole in the middle of the lid.
Cut two small lengths of conduit around 110 mm depending on your bucket and push them into the T piece. Put on the end caps. Drill a number of 2 or 3 mm holes along one side of the small pieces of conduit.
Rotate one of the small pieces of conduit so that the hole are opposite to the holes on the other small conduit piece. This should create a swirling action to ensure there are no “dead” areas in the bucket that could go anaerobic due to lack of oxygen.
Don’t glue any of the conduit pieces together. You can pull them all apart for easy cleaning.
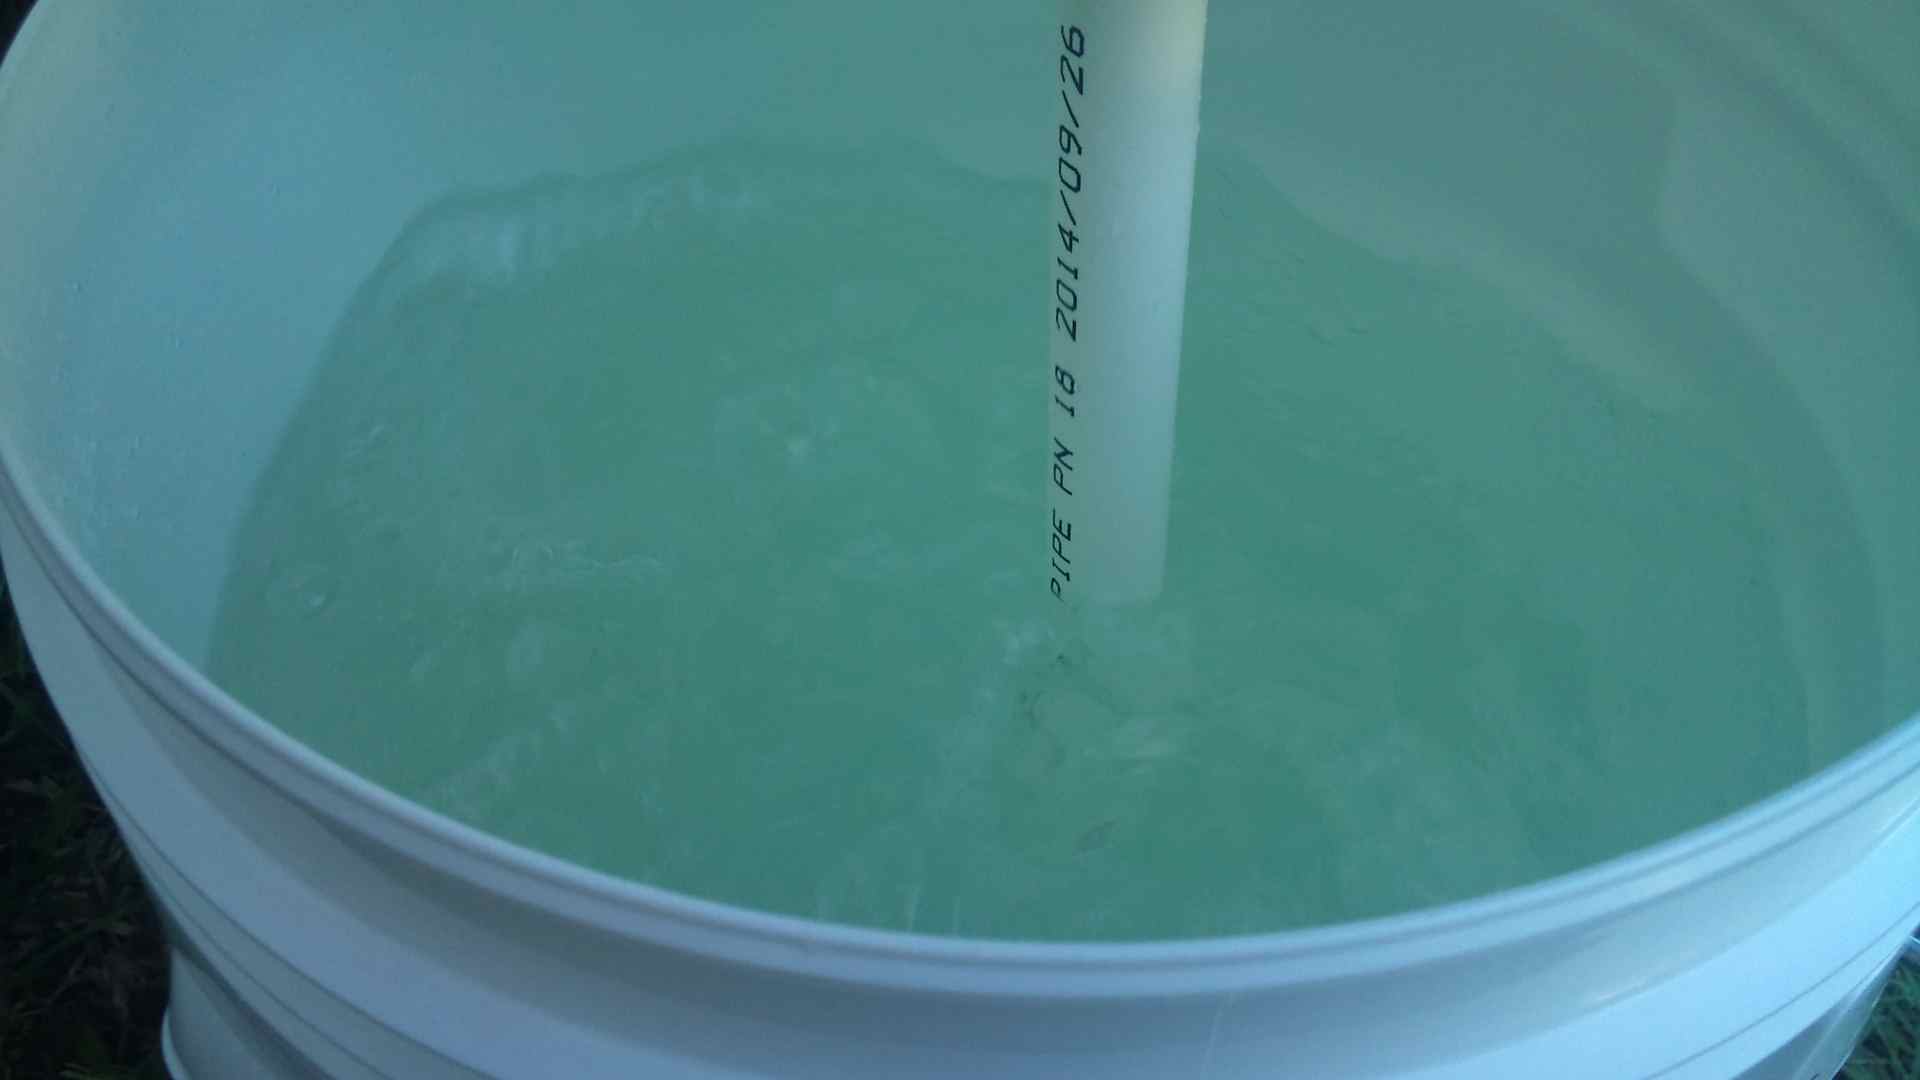
Aerating the tap water to remove the chlorine
Test Run
After putting it all together it needed a test run. I put around 15 litres in the brewer and switched it on. Plenty of bubbles and water movement. I was hoping that by placing the air holes opposite to each other and pointing slightly upwards that it would generate a vortex action but that didn’t happen. All in all though, I was pleased with the amount of aeration. I will leave it aerating the water overnight so that it removes the chlorine.
I will let you know the results of the first batch of compost tea.
Trackbacks/Pingbacks