Natural Gardening
I planted some Black Russian Tomatoes in the wicking bed and showed how to tie them up and prune them. These are some very strong tomato vines.
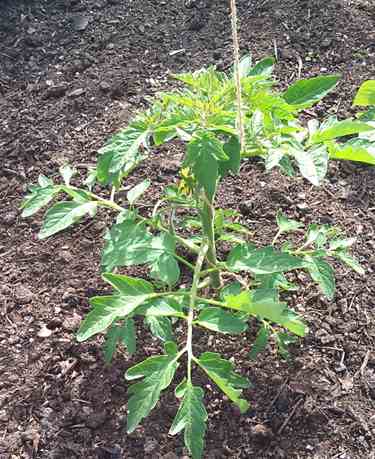
This vine has one set of roots and two laterals that I have tied with string to the overhead wire. As the vine grows, I wind it around the string and prune any more laterals that grow.
This is the other tomato in the wicking bed. The photo doesn’t show it well but the stem on these tomatoes are about 25mm (1″) thick. They are like a tree. Tomatoes have formed on the lower trusses and laterals are trying to grow on the ends of the trusses. They are vigorous vines.
I overplanted the wicking bed a little, but everything seems to be growing gangbusters. It is good to see a brassica without caterpillar damage from the white cabbage moths. I am overblessed with them in this location.
In between the tomato and the cabbage are French beans. I planted six in the wicking bed and more outside. Although some are getting smothered by the cabbages, I was able to pick 1/2 a kilo from them today. They are producing beans better in this location than out in the garden.

Natural Gardening
There are many ways to grow tomatoes. Staking them or putting a wire cage around them or easier easy ways like letting them grow wild or stringing them up. I like all ways, but I have worked out a little twist on letting them grow wild.

If you plant tomatoes and let them grow wild, they will soon take up all the space in your garden and they will have formed so many laterals, you won’t know where the plant starts and ends.
The fruit will be lying on the ground and getting attacked by every pest known to man. What you thought would be the easy way has turned into the hard and non-productive way. You mutter to yourself as you pull that bloody tomato vine out. But you get a few shining moments as you rescue a few beautiful vine ripened tomatoes.
Instead of growing your tomatoes in the garden, grow them in a 200litre plastic drum.
Get some really good soil and add some worm castings, maybe some rock dust and some compost.
I learnt to grow tomatoes the easy way by accident. I had a 200 litre drum, on its side, as a worm farm. When I made my bigger worm farm, the drum was left sitting for a while and a volunteer tomato and passionfruit grew out of the worm castings. I didn’t take much notice and then some fruit formed so I kept and eye on it. The tomato produce quite a few fruit, had no disease and very few pest problems. I credited its good performance to the worm castings.
Because tomatoes are such hardy beasts, I didn’t shower it with much attention and only watered it if it wilted. Sometimes that would be a month to six weeks after a downpour of rain. If tomatoes were getting close to the ground, I raised them up by putting a block of wood under them.
Because the tomato had to grow up and out of the drum, I only had to support one tenacious lateral with tomatoes on it.
Getting Ready To Transplant Seedlings
These are Black Russian tomato seedlings. On the left are the remaining two from a punnet bought at Bunnings. Your can see they have been neglected in comparison to the two from the same punnet, planted in the wicking bed. In the punnet is a seedling I grew from seed. The seed was purchased from The Seed Collection. It was looked after a bit better than the others.


When I plant tomato seedlings, I plant them so that the leaves are right at soil level. This allows more roots to grow from the stem.
After planting I water them very well and won’t water again for at least 4 weeks, or if they are wilting in the morning before it has warmed up. They are hardy beasts and by not watering, they don’t grow all long and leggy. The idea is to make them want to produce fruit and you don’t want them to grow a lot between each level of fruit.
If a plant thinks that it might not survive, it produces fruit to ensure the species ongoing survival. Treat it too well and it doesn’t use it resources to maximise fruit production. Like us, when we get too comfortable, we don’t try to improve our situation.
Uncategorized
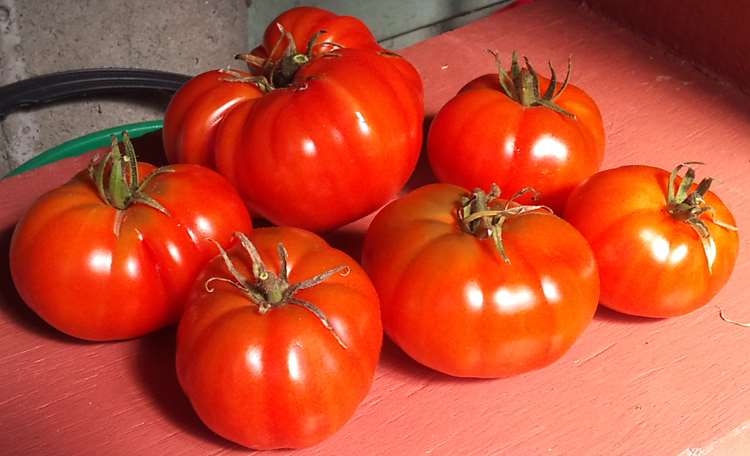
Nothing beats fresh picked tomatoes
Tomatoes would have to be close to the favourite fruit I like to grow. Nothing beats looking after a tomato bush and looking forward to picking them. The distinctive aroma that is transferred to your hands when you touch them to tie them up can’t be beaten, imho.
Tying up a young tomato plant
The best way I have found to grow tomatoes is to grow them in an environment that restricts insect attack and to tie them up on a string.
This young Black Russian tomato plant is being grown in the wicking bed and is protected from insect damage by a frame covered in fruit fly mesh. Notice the string winding around the stem of the plant. As the plant grows you wind it around the string to support the plant.
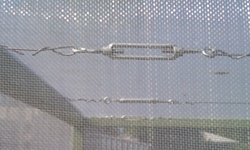
Turnbuckle to keep wire taut
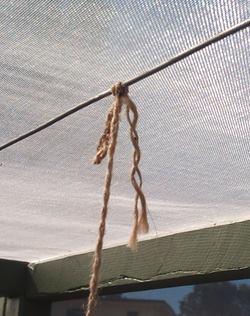
Once your supporting wire is in place, a simple slip knot is used to attach the string.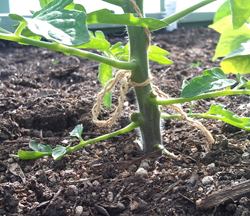

Wind the string down around the plant to the base. Make a loop and pull it back behind the string and the pressure from the wind will hold it in place. As the plant grows all you need to do is wind the tomato around the string.
There are a couple of tricks to look out for. The first one is if you have a number of tomatoe plants it helps to wind them the same way. It will depend on if you are left or right orientated whether you wind them clockwise or anti. Try one way and if it feels funny or awkward try winding the other way.
Tomatoes are bullet proof.
If you can grow your tomatoes in a protected environment your will find that tying up tomatoes makes them a gardener’s best friend. They are practically bullet proof. Even if you break them they will surprise you by growing another leader that produces tomatoes.
Recap
- Get your support wire in place
- Plant your tomato seedlings
- Drop your supporting strings from the wire
- About four weeks after planting seedlings it is time to tie them up
- Wind the tomatoes and prune on a weekly basis depending on weather conditions (longer in winter)
Now that your tomatoes are tied up, the next information needed is pruning and winding. Probably next week.
Vegetable Trials
Develop a big Tomato Root System
When laden with fruit, a good tomato root system is required to obtain enough food, minerals and water to sustain growth.
The best time to get a tomato to generate an extensive root system is when you transplant.
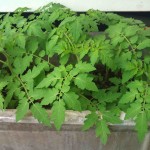
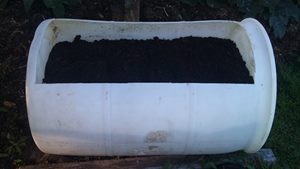
Volunteer Tomato Seedlings in old Laundry Tub
This year I removed an old laundry tub and placed it in a warm morning sun spot close to the house and a tap. I half filled it with worm castings and compost. I then put some bagged horse manure on top. The intention was to grow some strawberries.
It was a bit of a surprise when all these tomatoes started to appear. I guess the horse who supplied the manure was a tomato fan.
The seedlings all looked well and healthy so it is time to transplant them out and get them adjusted to our winter here in Brisbane. Currently the temperature range is 8 degrees C to 22 degrees C. Winter is the dry season here usually. This year it is still raining regularly and it is into the second week of June.
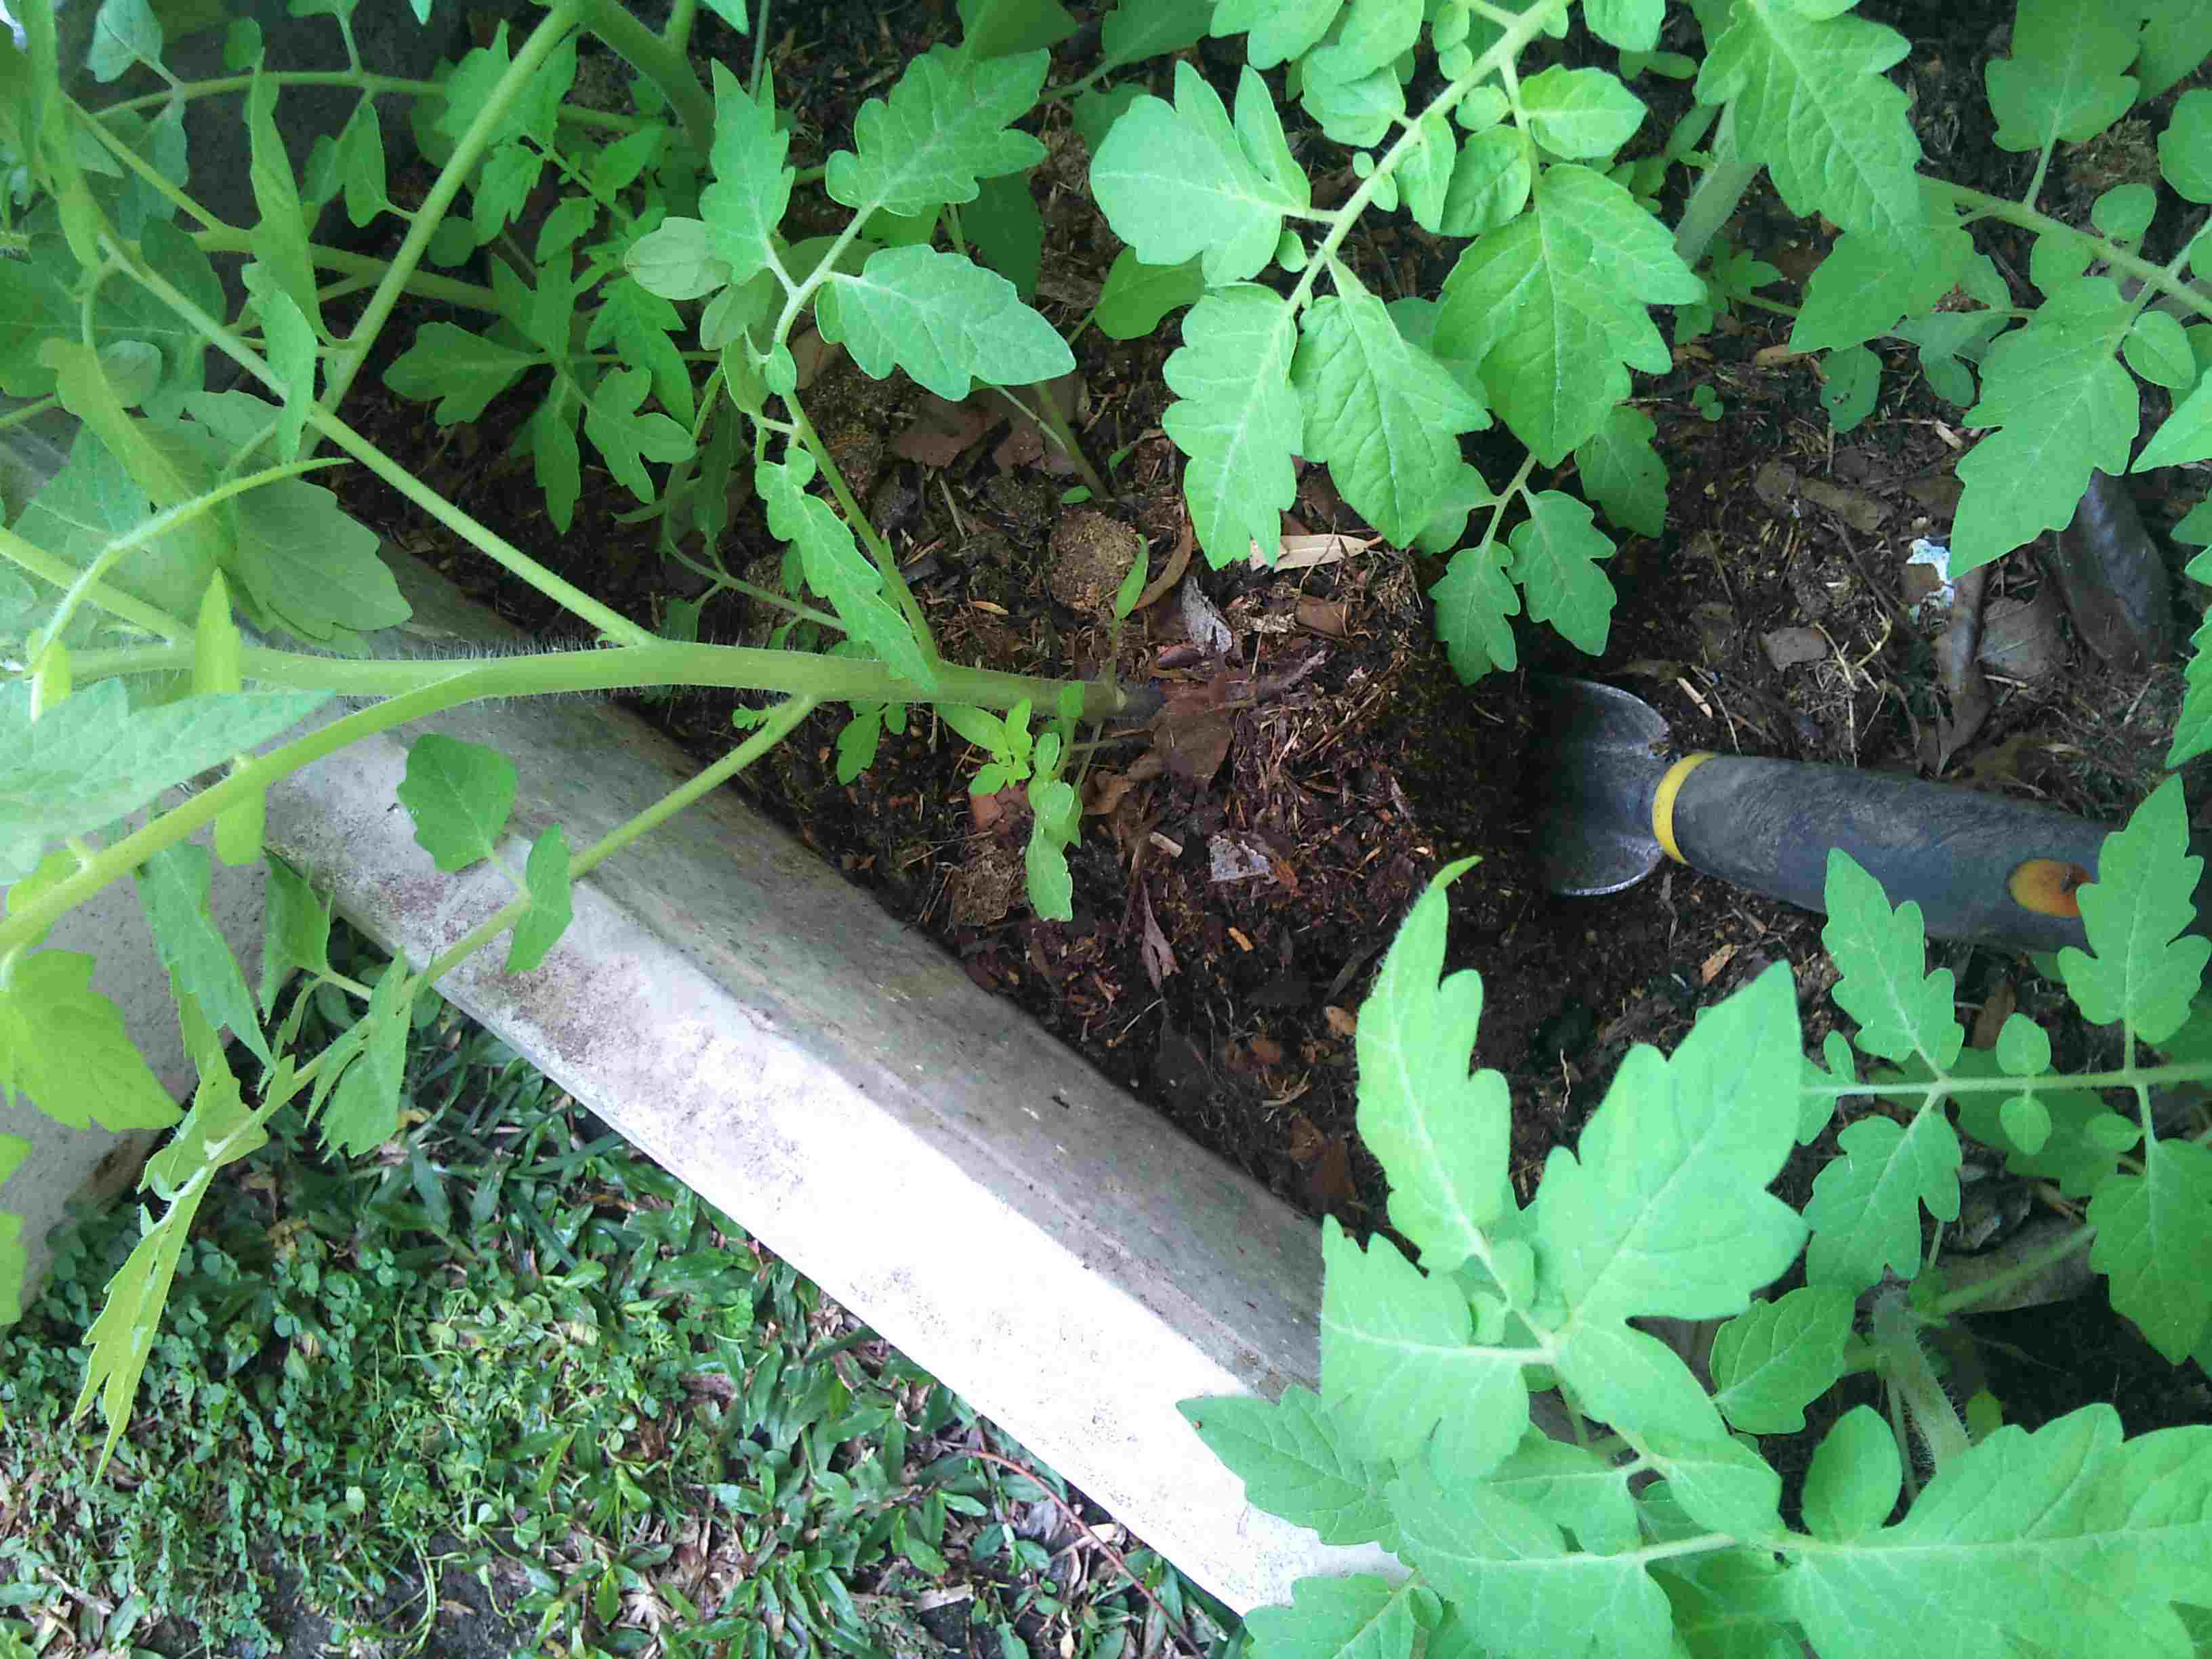
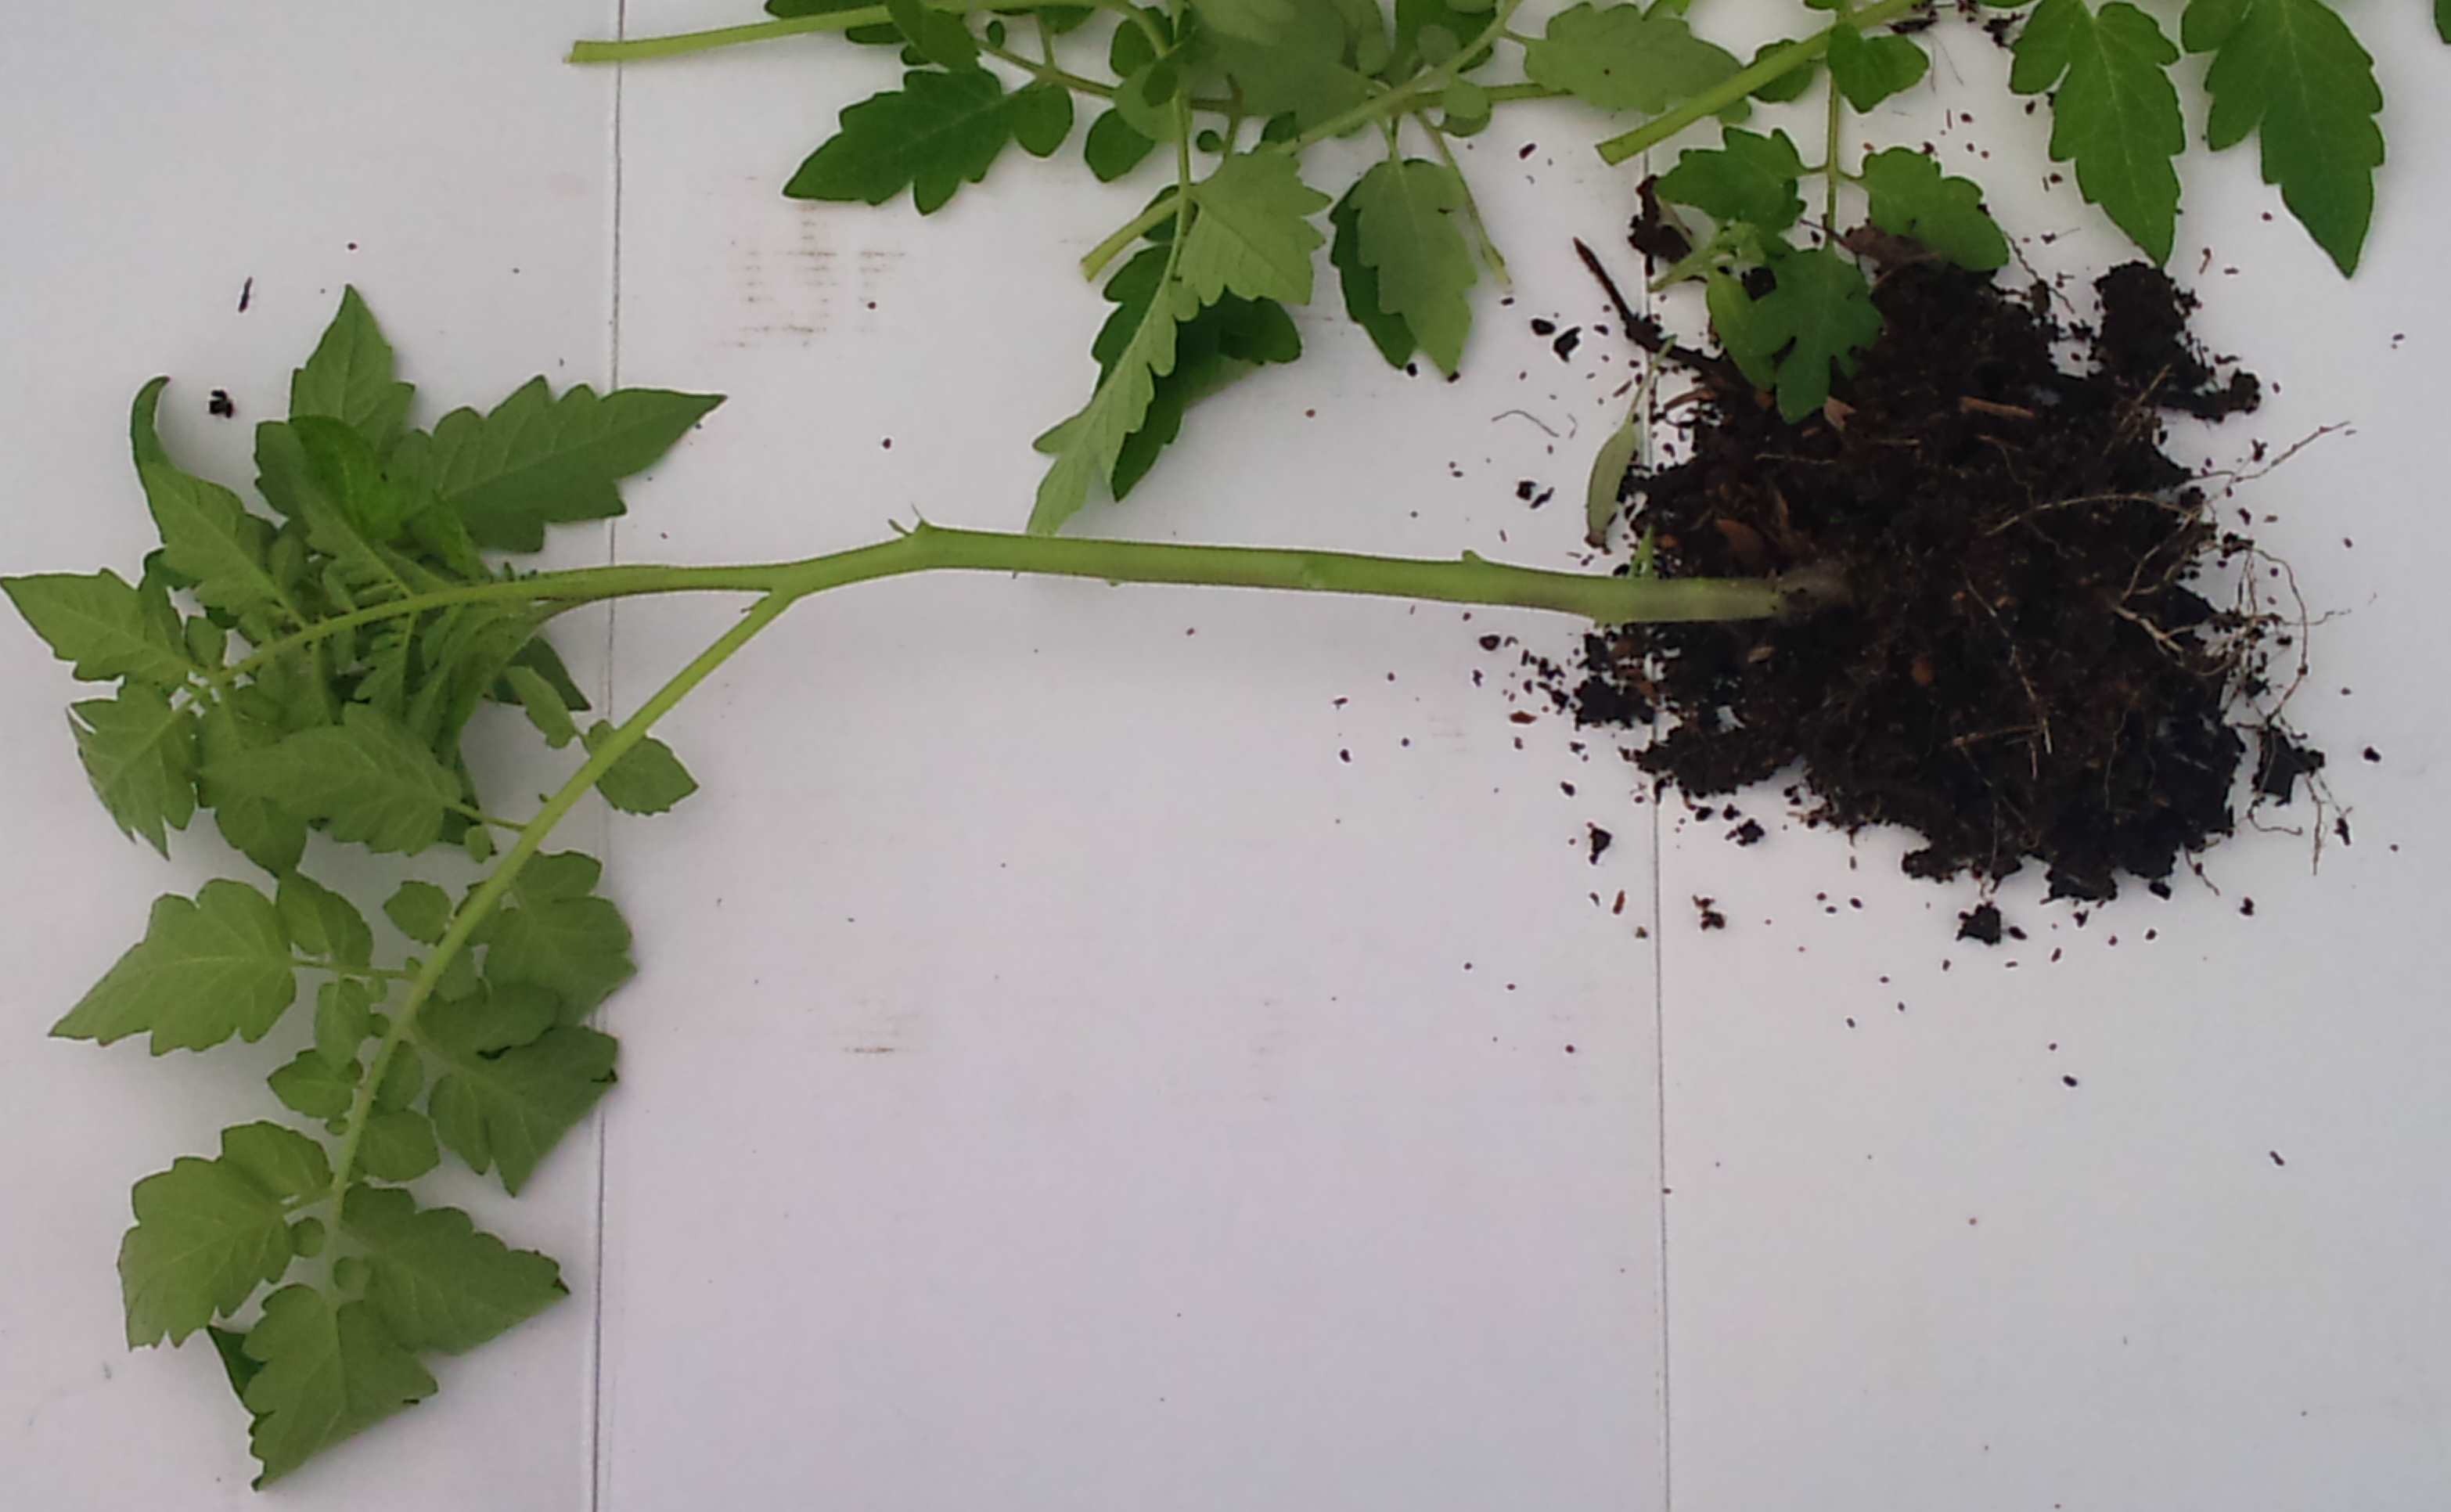
Digging Out A Seedling
The seedlings have shot up because of the warm position and the rain. They are quite leggy. Usually if I am growing tomatoes in a plastic house I don’t want them to grow too tall as it increases the distance between the bunches of tomatoes. To regulate the height of the tomato you water sparingly. Growing outside leaves you in the hands of the weather.
In this case the seedlings being quite tall is an advantage.

Before Pruning

After Pruning
Take the seedling and remove the branches and leaves up to the last three at the top.
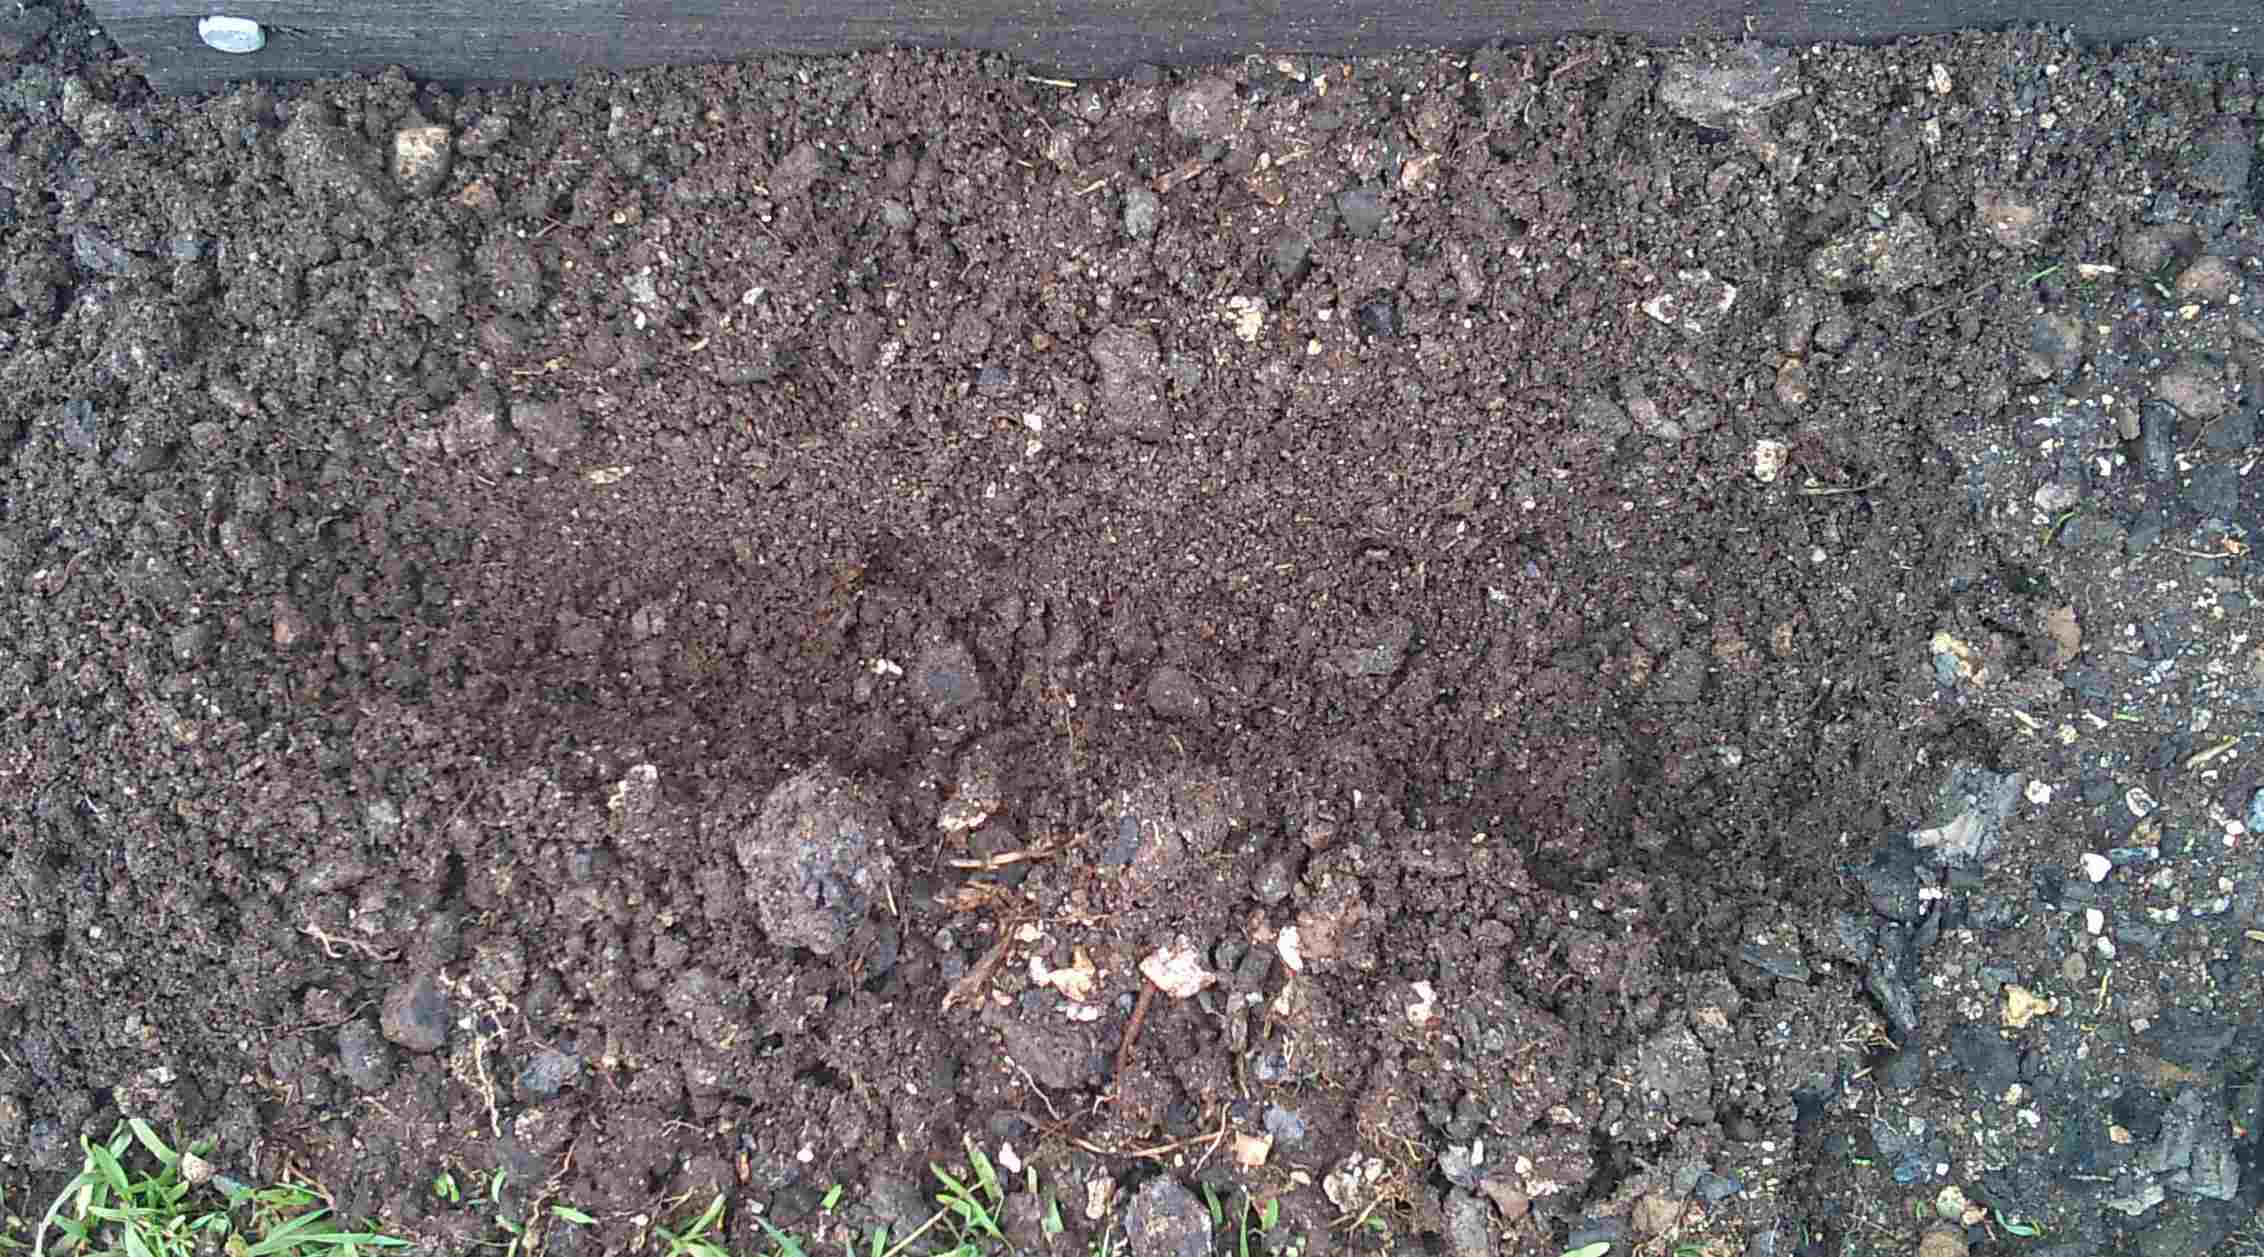
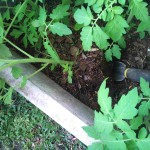
Create a trench in the position you want to grow your tomato.
Planting Trench
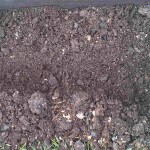
Lay the tomato in the trench with the top above the surface of the soil or growing medium.
Don’t worry if the tomato is not standing up, it will after a couple of days.
By planting this way you have increased the root area by over 100{cd07be7979728a86b172d4c3c193ee8254293b2598ced4c874c66a7b3dbba444}. A tomato will produce roots from any part of the stem that is in contact with the ground or growing medium.
After Planting
When transplanting a tomato or any seedling there is usually some transplant shock. This can take a couple of days to a week for the plant to recover, depending on soil temperature and how much root disturbance. Once it is over transplant shock your tomato plant should power away.