
I finally got off my dot and started the wicking bed construction. The first order of the day was to complete the second coat of exterior paint.

Second coat of paint finished
I got motivated and moved the sleepers onto the pad and gave them all a second coat of exterior paint. Moving them wasn’t my smartest move as I had to move them all off to start construction. Talk about double handling.
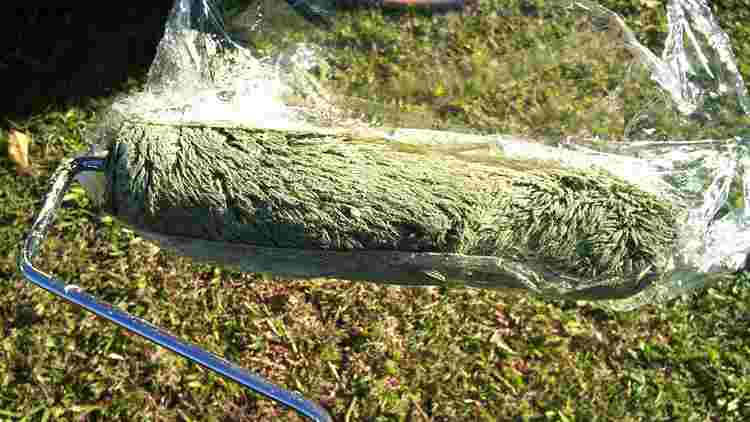
Same paint roller
The first coat of paint was applied on March 28 and the second coat on May 8. The roller was wrapped in cling wrap for that time. I peeled off the cling wrap and used the same roller.

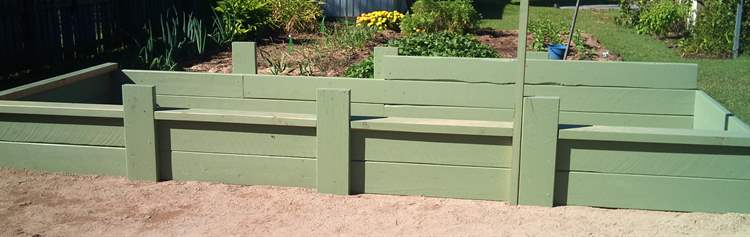
Late in the day
I put in a few hours the next day on the wicking bed construction and nearly forgot to take a photo. This one was late in the day.
Some time spent thinking led to a few changes
Some changes were made to the plan
Quite a few changes were made during the wicking bed construction. I had actually drawn up a plan before I started, but as I progressed I saw some ways to change it that I thought would be for the better.
First, I changed from having the sleepers all join at the same place to having them in a brick pattern. That meant I had to cut one sleeper in the second row in half. I felt that this would make the construction a little stronger as the bed is just sitting on the ground. None of the uprights are sunk into the ground. The brick pattern wouldn’t be seen as all the joins are covered on the outside with an upright, and once the bed is filled with soil and compost you won’t see them on the inside.
Second change quite an improvement.
Originally, my plan was for three layers of sleepers making the bed 60cm high (2ft). After thinking about this for quite a while, I decided that a depth of 45cm would be sufficient as the bed was going to be used mainly for Asian vegetables and quick growing plants with shallow root systems.
By removing the top row I decided to put on a 15cm wide top cap that could be sat on. Nothing better than sitting down doing the gardening. A 15cm seat is much more comfortable than a 5cm wide seat. The top cap increased the height by 5cm.
There is also going to be a frame built over the bed for shade cloth. The shade cloth will serve a dual purpose of insect exclusion and wind protection. It will help keep the plants cooler in summer as well.